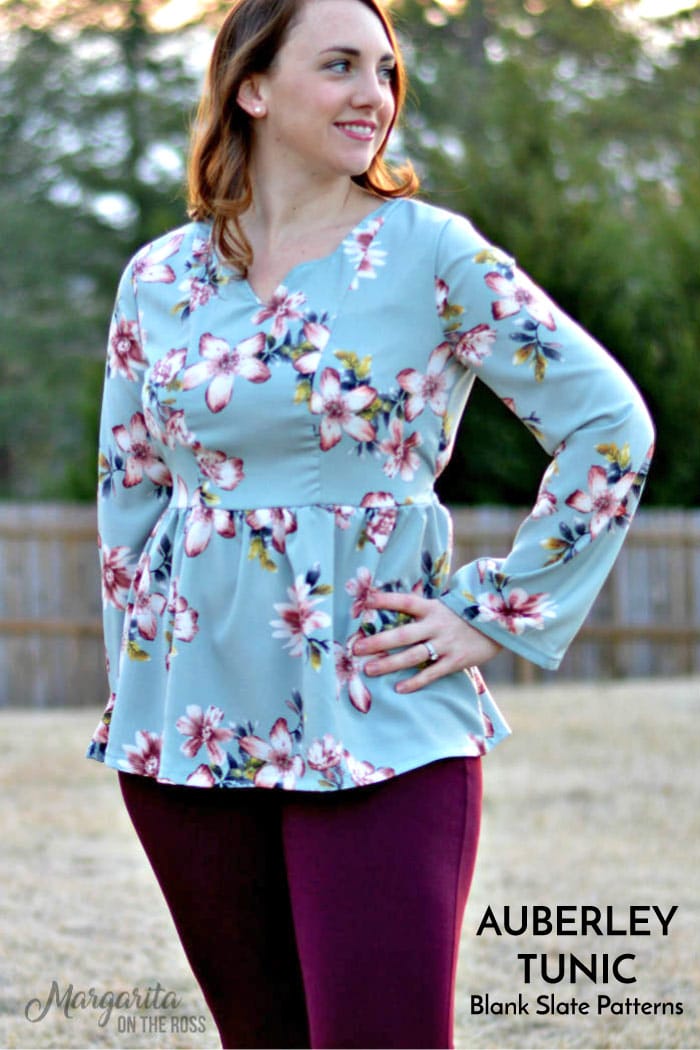
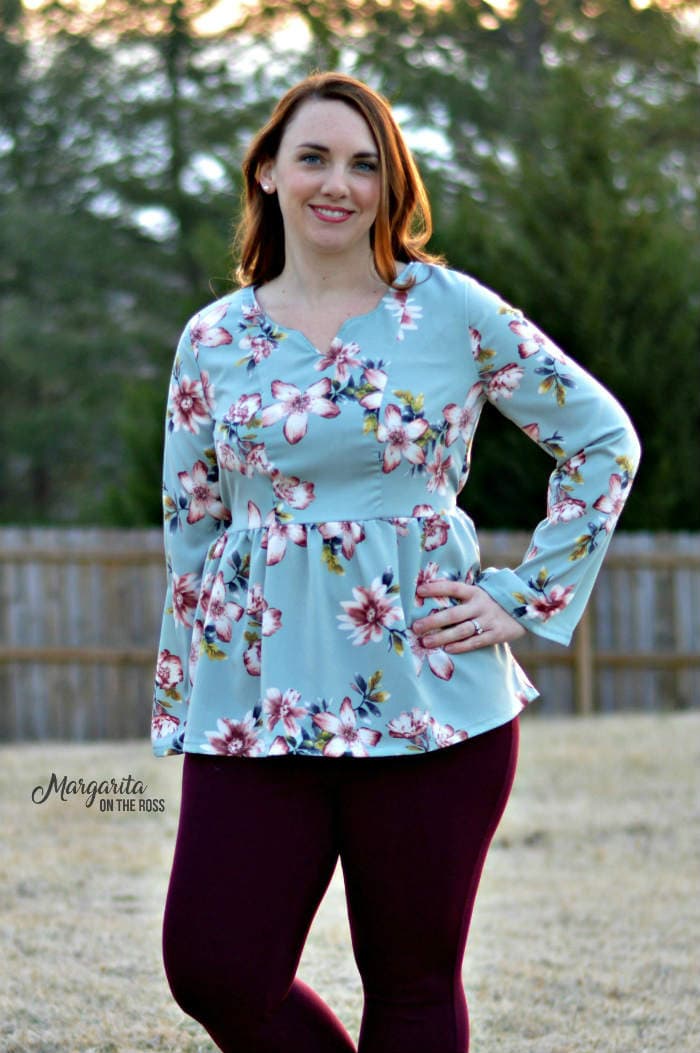
 This is Stacey from Margarita on the Ross, and I am kicking off the “What’s Underneath?” theme for the month of February. Today I am sharing my Auberley Tunic (affiliate link) and talking about the different seam finishes underneath.
I have had my eye on the Auberley for several months now, and I decided to finally sew it up and work on different styles of finishing a woven seam. I don’t know about you, but I am always looking to expand my sewing skills. That being said, sewing with woven fabric is definitely one of my weak points. Since the Auberley is a lined tunic (or dress), it provided several different opportunities to work on my seams.
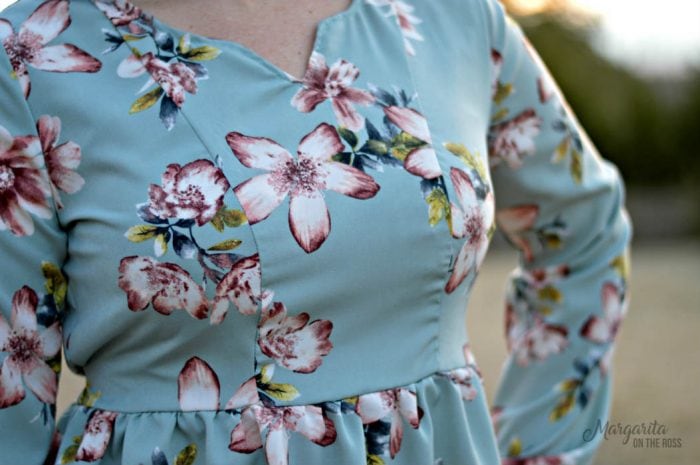
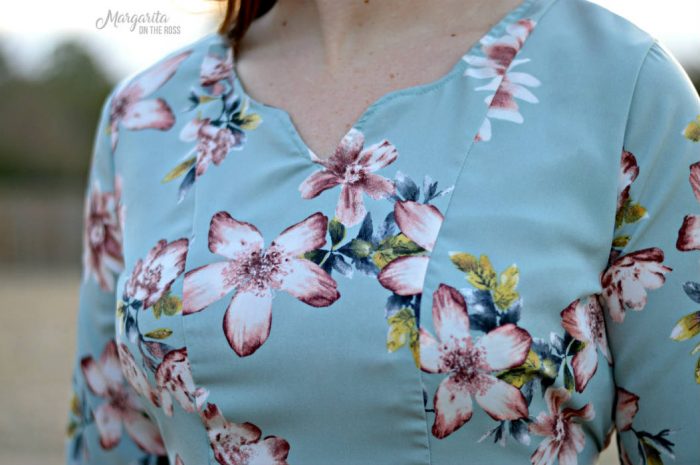
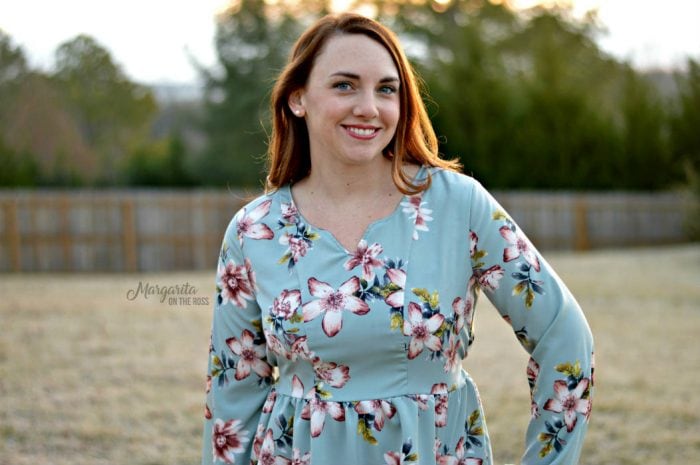
 Let’s take a closer look at the features of the Auberley. The bodice contains princess seams, and the pieces fit together so nicely. I used my sewing machine to construct the bodice with the exception of finishing my raw edges. I was worried that the serged edges would be prominent in the bust wedged between the bodice and the lining, but it did not add much bulk.
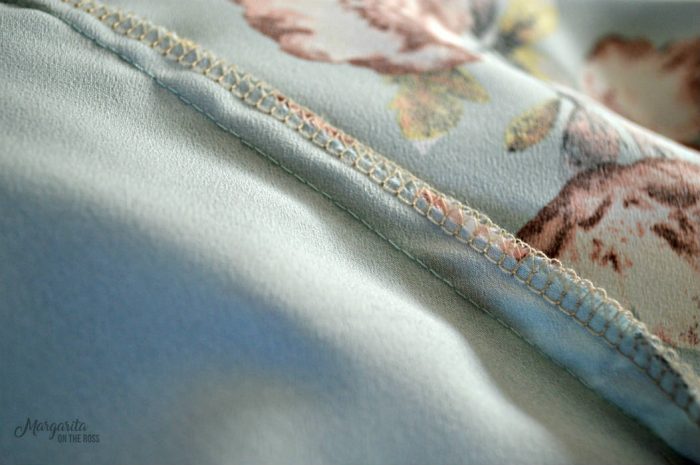
 If you are looking for a simple guide for finishing seams, the Melly Sews post A Guide to Seam Finishes is a great reference. I referred to it several times while sewing my Auberley. The serged edges look so clean underneath the tunic as you can see below.
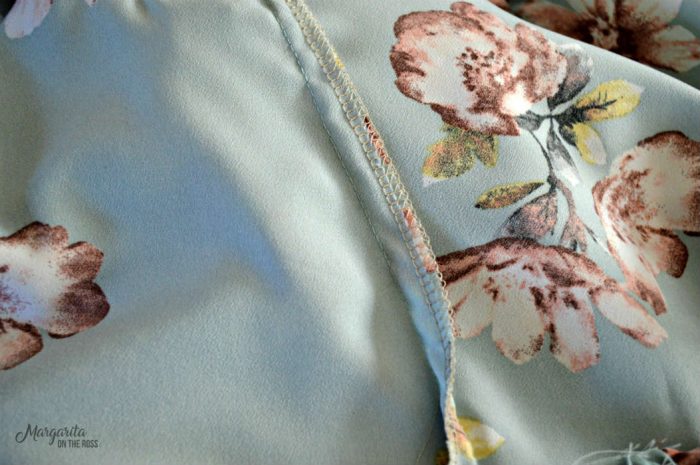 In addition to the princess seams, the subtle bell sleeves on this long sleeve version are a fun feature. Bell sleeves have been everywhere in the retail fashion industry recently. So, of course, I had to jump on trend with these bell sleeves. The sleeves were also finished with a serged edge. Since the inside of the bell can be seen from some angles, I probably should have used a French seam.
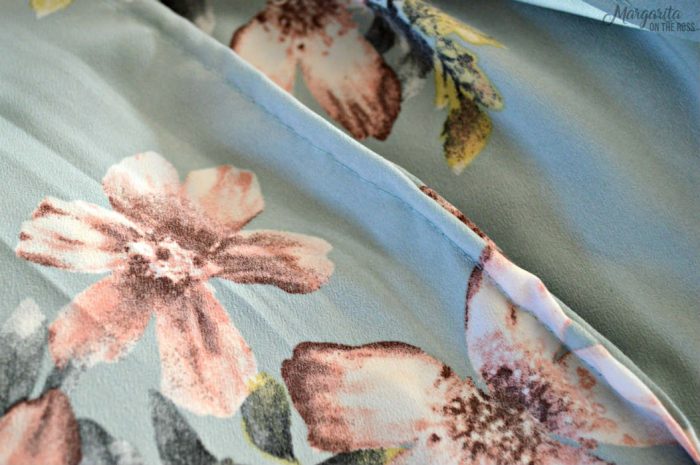
 French seams are on definitely on my must-practice list. Using the method in Melissa’s blog post, I enclosed my raw edges in the shoulder seams and then used the same method again in the side seams of the tunic skirt.
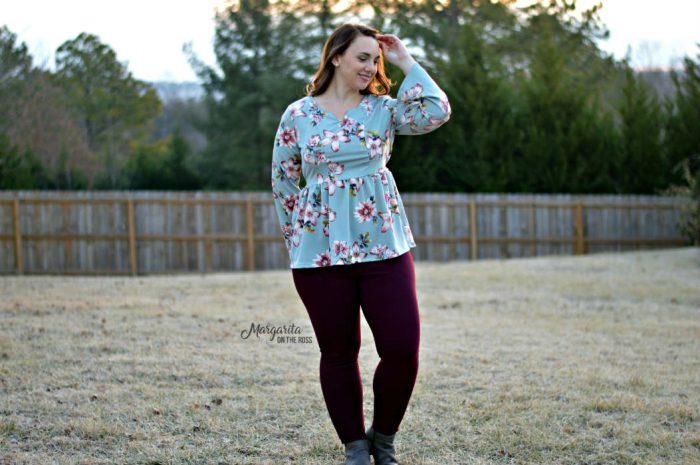
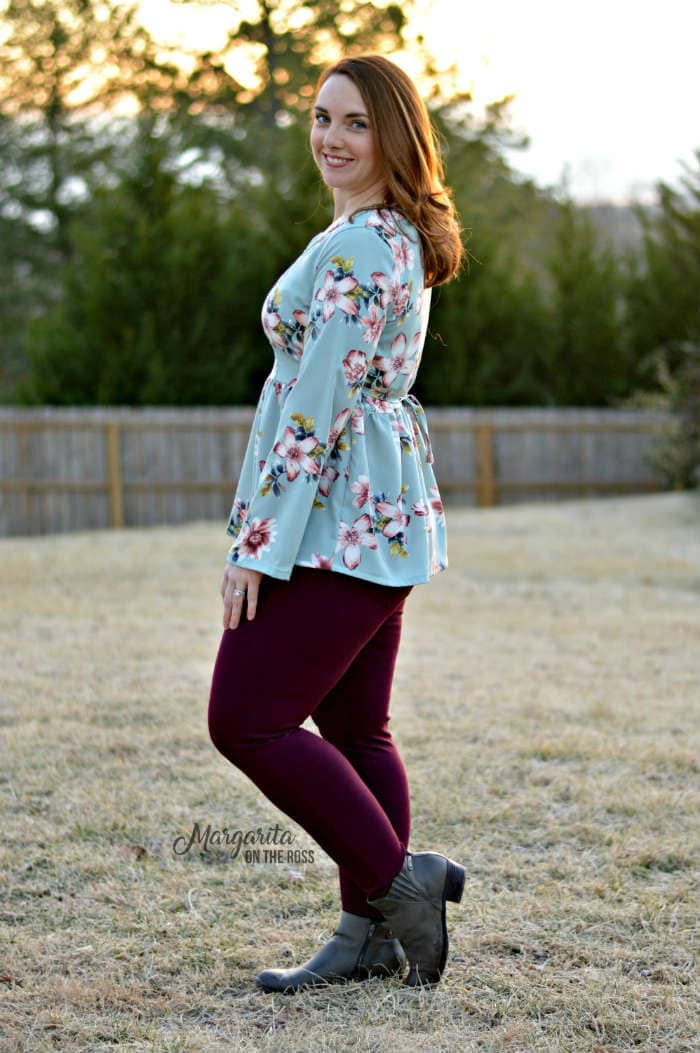
 The length of this tunic was perfect for me. I love a good tunic, especially one that provides enough coverage for me to get away with a skinny ponte pant. If you are looking for even more coverage, the Auberley pattern includes a dress and maxi length, too.
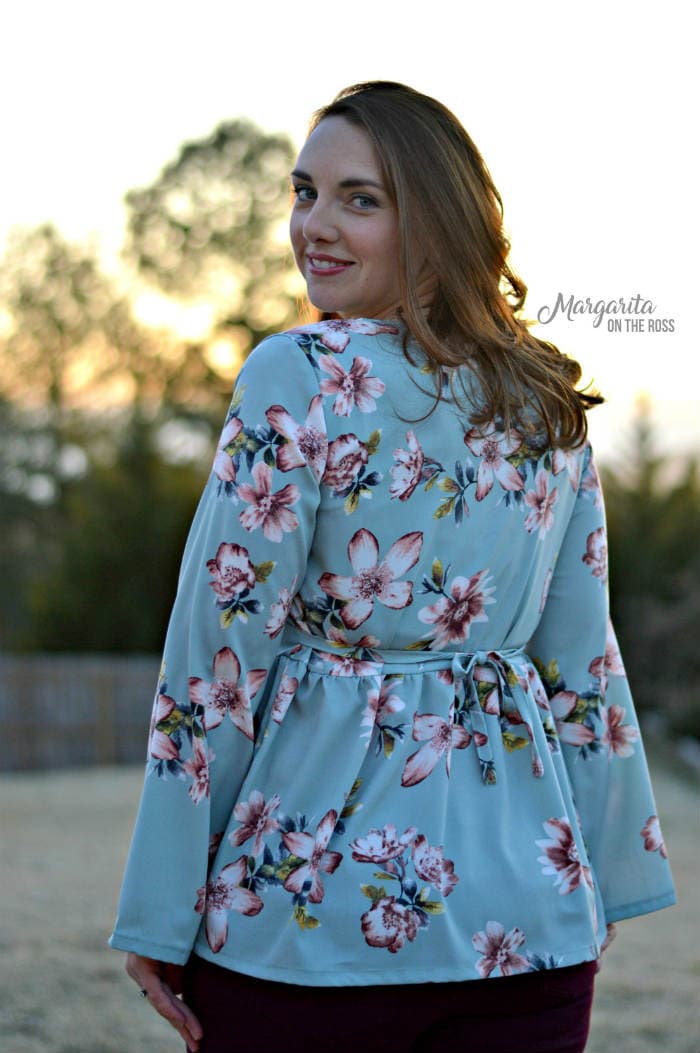
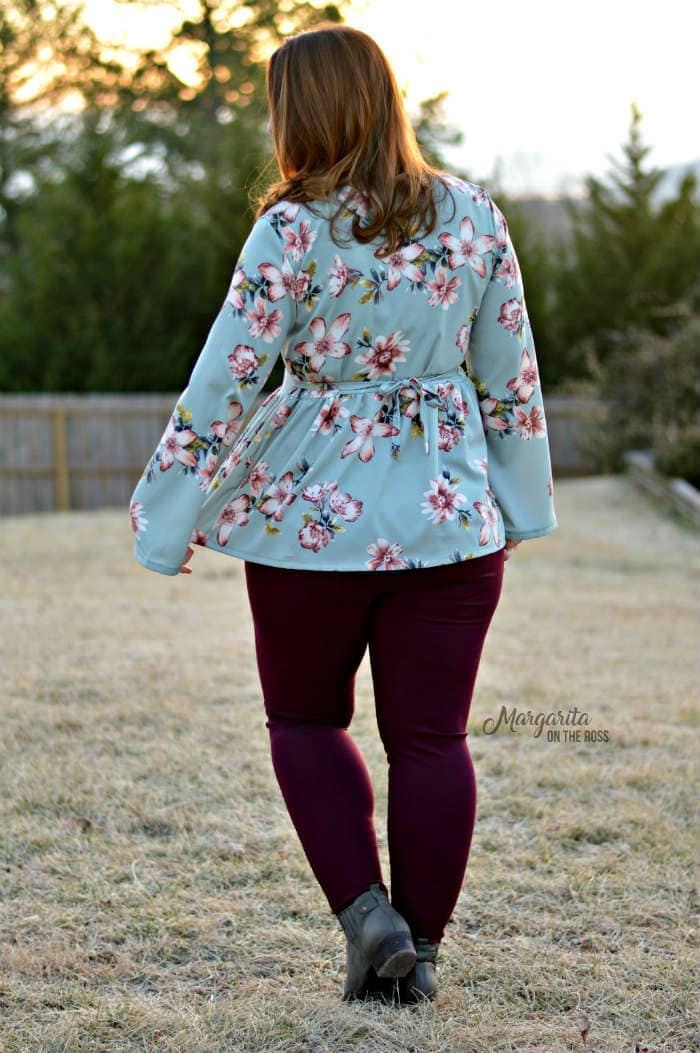 To round out the feminine features of the pattern, the bodice and skirt junction hits at the natural waist. Plus, the ties in the back allow for more shape to the tunic without needing to have closures. Simply slide on and tie it back. It is so easy to wear, and look at that silhouette!
 Finally, you cannot finish a polished product without topstitching. The notched neckline includes optional topstitching, but I found it to be necessary for this slippery fabric.
 Thanks for joining me in taking a further look at the Auberley and the seams underneath. Don’t forget to check back every Friday this month for more “What’s Underneath?” from the Blank Slate Sewing Team.
 Until next time…sewing and sipping,
Stacey
Find Stacey: Blog, Instagram, Facebook
