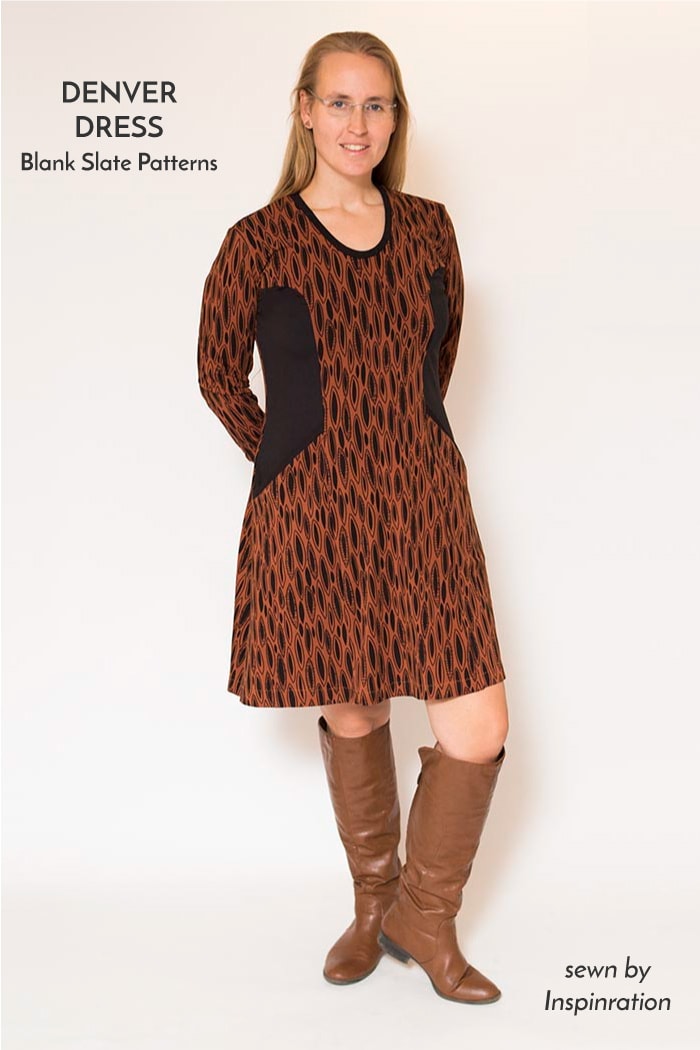
Hi, this is Miranda from Inspinration. Today, I am showing you my take on the Denver dress (affiliate link). This month’s theme is “creative,” so that is what I did, I got extra creative and slightly hacked the pattern. To create an extra-pretty silhouette, I adjusted the pockets.
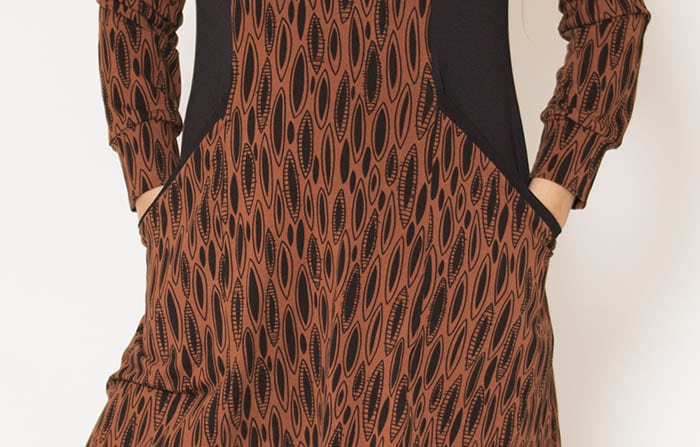
In the original Denver, the pockets create a color block option because they are sewn on the side panel. With today’s adjustment, the side panel will be split in two, which gives you an additional option. I decided to have the upper side panel in black and the lower in the same print as the middle panel. Although the front of the dress is created from three panels, it looks like one due to the busy print.
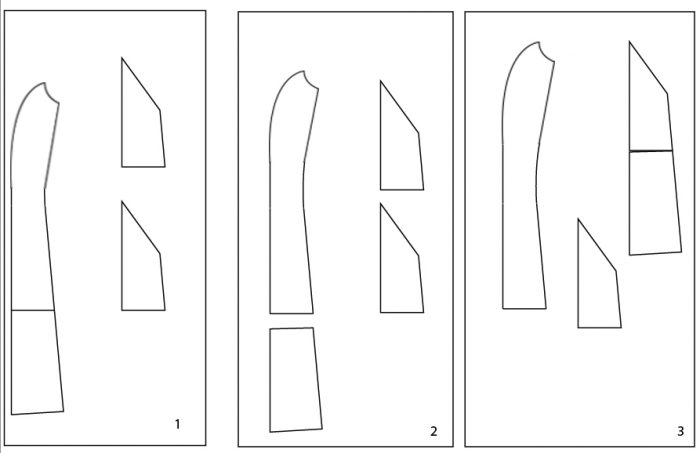
If you want to make a similar hack, you have to make a small adjustment to the pattern pieces. It really is only a small edit, and it is very easy.
Start with the standard side bodice panel and print the pocket piece twice (graphic 1).
Cut the side panel at the straight pocket line, the line where the bottom of the pocket is supposed to hit (graphic 2).
Tape one of the pocket pieces on top of the lower part of the side panel (graphic 3).
That is it, these are the alterations that you have to make to the pattern pieces. Now cut your pattern pieces in fabric, the separate pocket piece will serve as lining and will not be visible. Besides these pieces, you also need the regular dress pieces as well as the pocket bias strip.
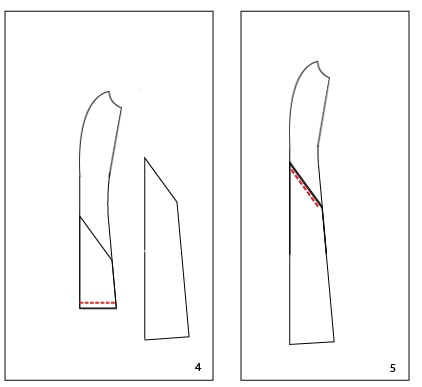
The construction of the dress also slightly changes. First, lay the pocket lining on the upper side piece. Align the bottom of the pocket piece with the bottom of the upper side piece, put the fabrics’ good sides facing each other (from the side panel good side up and from the pocket lining good side down).
Sew the bottom piece together with a stretch stitch (graphic 4).
Now place the lower side panel on top of the two previously sewed pieces (good side of the fabric up). Align the diagonal pocket line at the top (graphic 5).
 Follow the instructions from the pattern to sew the bias on top of the pocket opening (the first step in the original pocket instructions). Your bias will now have two layers of fabric in between (both main and lining), but the instructions are still valid. Now you can continue with sewing the princess seams as explained in the instructions and continue to the sleeves all the way to finishing the dress.
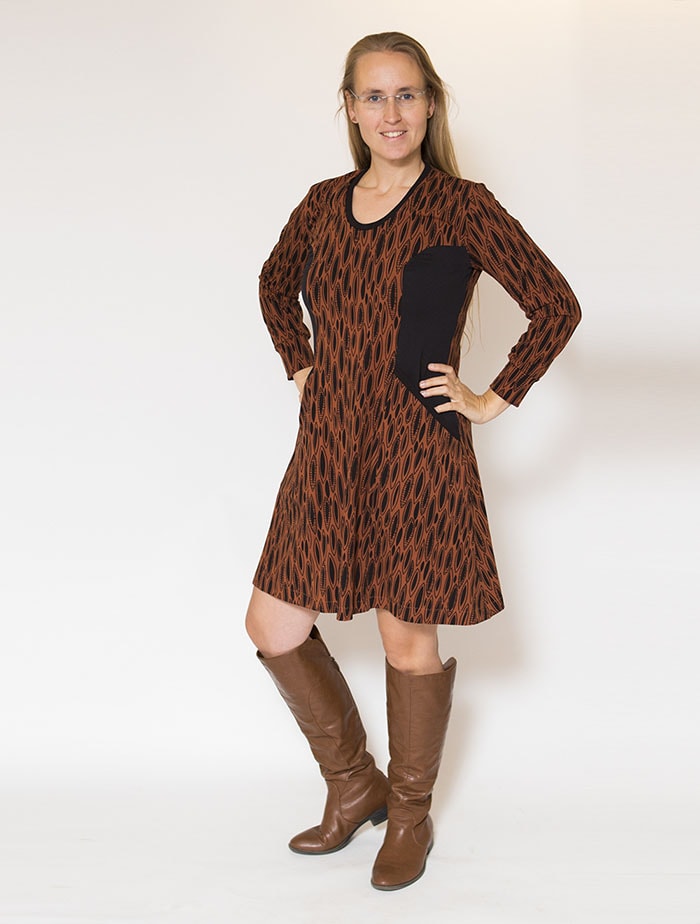
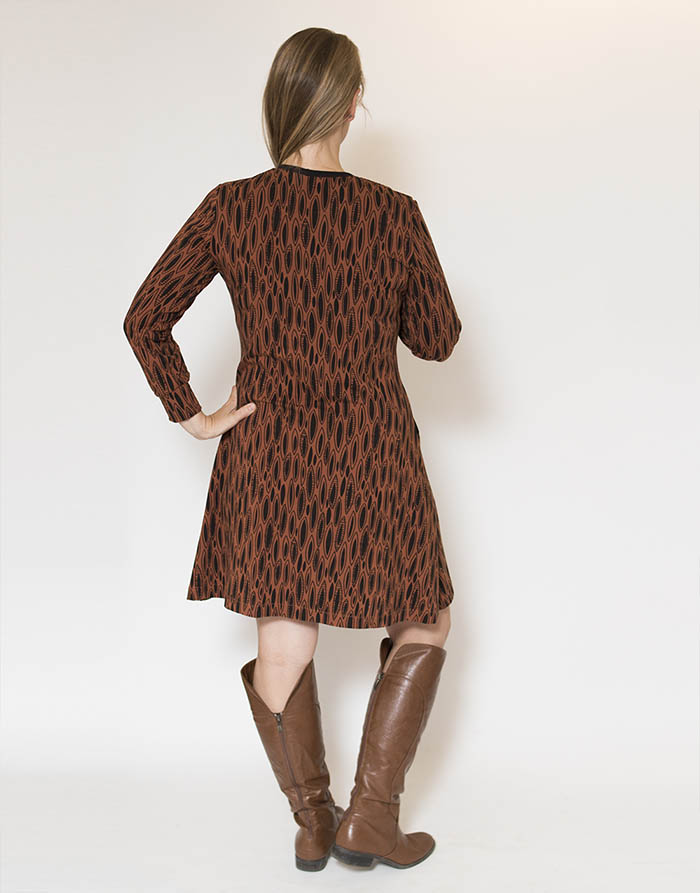
Besides the pocket hack, I made two other small adjustments. Instead of using a bias, I used bands for both the neck and the pockets. I prefer the band method because they can be done with just my serger, this way, I only use my sewing machine for the hemming. The last change that I made compared to the original pattern is that I have a slightly different sleeve length. Due to not having enough fabric, I decided to shorten the sleeves a bit.
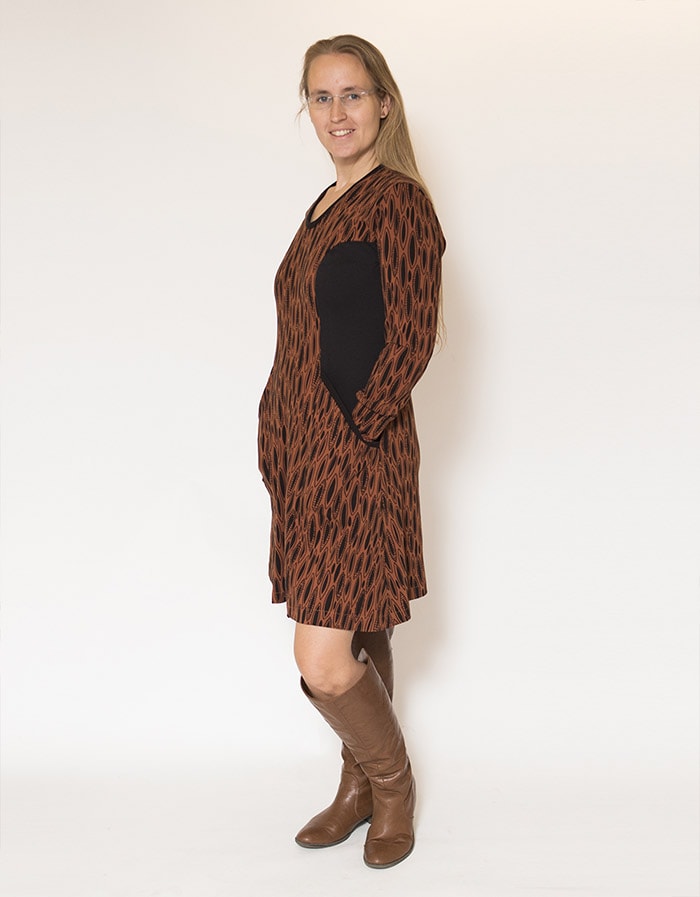
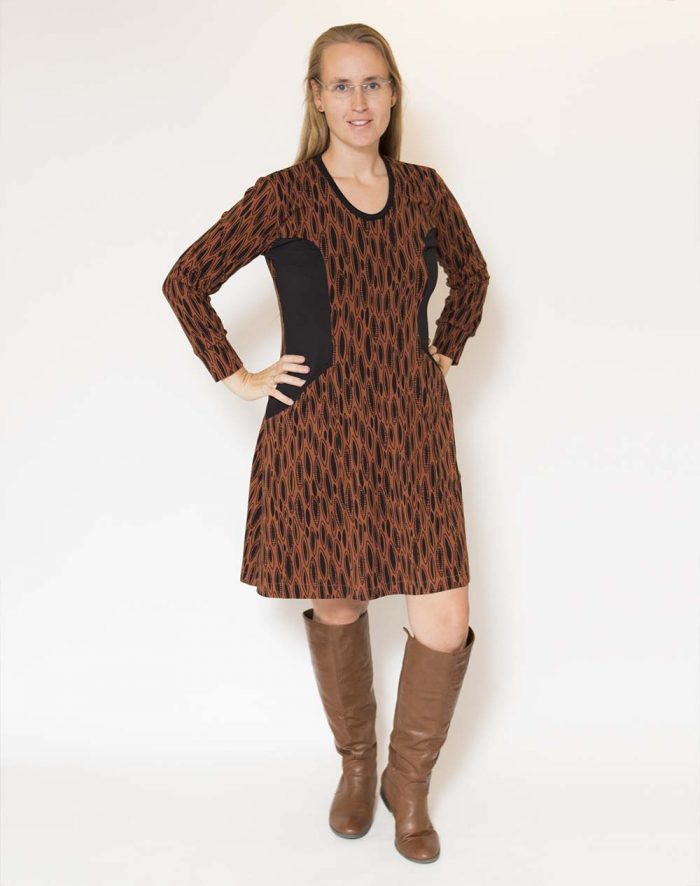
I really hope that you liked my hack! If anything is unclear, just let me know in the comments. I know from experience that I have the tendency to be sparse with words in my explanations, so feel free to ask for some additional information.
Get your copy of the Denver Dress here!
Find Miranda: Blog, Instagram, Facebook
