
Hi there, it’s Fleurine from Sew Mariefleur! This month’s theme is “Creative” and today I’m showing you an easy way to make a simple top look more interesting. I’ve made several Fairelith Tops before (you can see one here) and love the fit and the neckline. This time I wanted to make the top a little less basic and decided to add some lace.
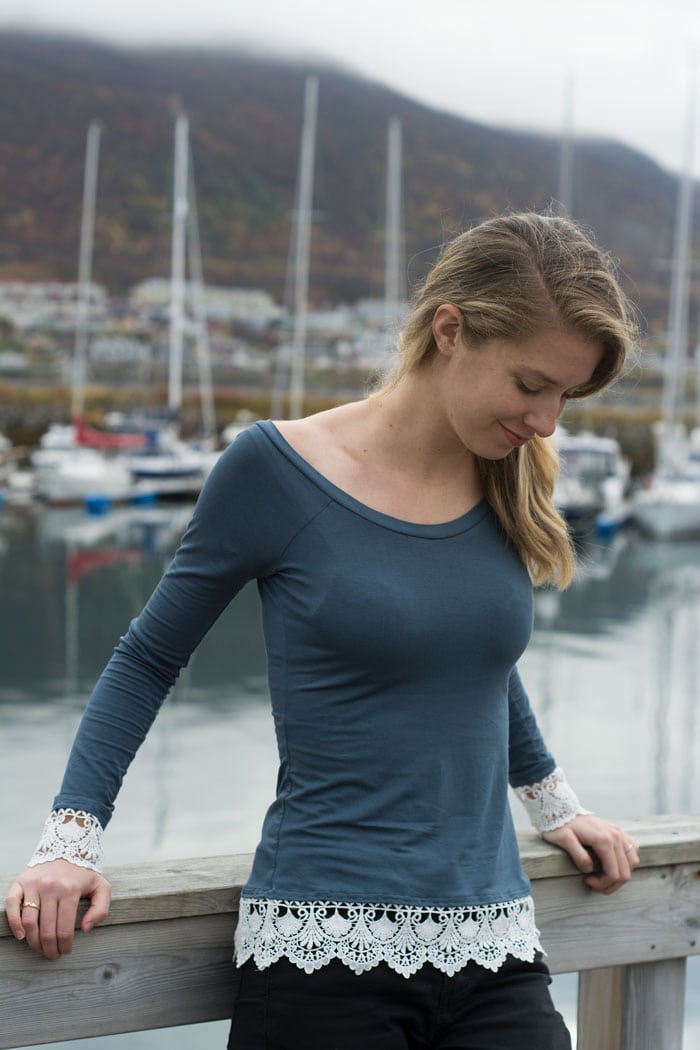
The Fairelith top is a basic top with a beautiful wide ballet neckline. It comes with short or long sleeves and as a fitted top or a swing top. That gives you countless possibilities! This time around I chose to make a long-sleeved version together with a fitted bodice.

Since the neckline is so wide it’s essential to follow the instructions regarding changing the neckline to make it fit to your body. If the neckline is too wide, it’s going to slide from your shoulders. If it’s too narrow, you’ll end up with wrinkles in the area around your sleeves and bust. I made size XS with a little more narrow neckline with my last Fairelith. Keep in mind that your fabric choice matters, too! The fabric I used here is a very stretchy rayon knit and although the shirt is staying on my shoulders, I could easily have narrowed the neckline a little more. My other Fairelith was made of a fabric with far less stretch and there’s no possibility of it falling off my shoulders.
Sewing the Fairelith is done very quickly. There are only a few pattern pieces and the few seams can be sewn together in no time, especially when using a serger. Quick projects are so satisfying, aren’t they?
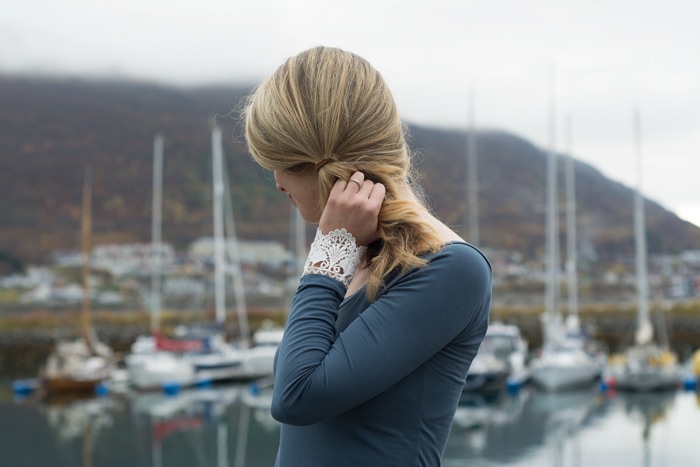
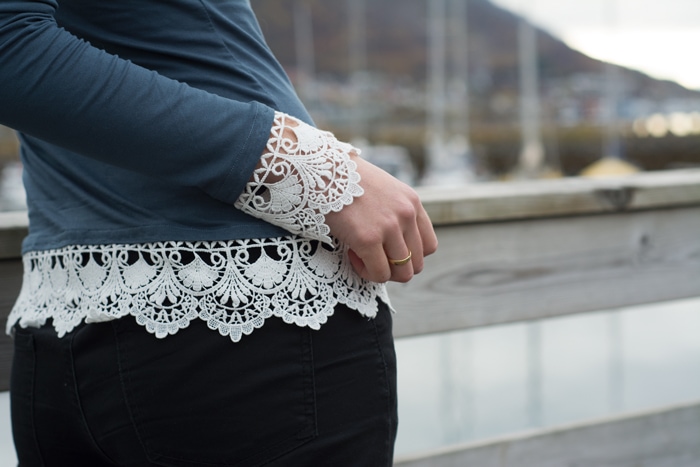
I had one yard of beautiful wide lace trim at home and decided to add it to the sleeves and the lower hem. The lace isn’t stretchy, so the hem of the sleeves and the bodice doesn’t stretch any more, but since I sized up it doesn’t really matter. I can still easily get into the top and out again. But if you’re planning on sewing a really tight top you might want to consider using a lace with some stretch to it! I measured the length of each of the three pieces of lace I needed and made sure that the edges of the lace met in a way leaving the pattern uninterrupted. And then the hard part began…
Since I had already hemmed my top I needed to add a second row of stitching to the hem, making it as parallel as possible to my first line of stitches. That shouldn’t be a big problem, but the combination of lace with big holes in it, a very stretchy knit and a tiny straight stretch stitch made the result look pretty clumsy. I should have thought of the fact that the hem wouldn’t stretch anymore anyway and should have used a straight stitch! While the hem of the bodice wasn’t that hard to sew, adding the lace to the sleeves was pretty frustrating, since I couldn’t really get the sleeves with the wide lace around my sewing machine foot. I can only say: no close-ups of those seams!

Next time I might consider hemming the sleeves before sewing the seams of the sleeves and to add the lace while it’s still lying flat. I’m sure the sewing process would be much easier!
Anyway – I figured that no one would be looking too closely at my seams and just left them the way they are. Ripping a tiny stretch stitch out of a stretchy thin knit is never fun, and this time around I couldn’t even find my seam ripper. That happens when I clean up my sewing room – I can’t find anything!
And I was right about the seams: the first day I wore the top I already got compliments for it, and not one person seemed to notice the wonky seams.