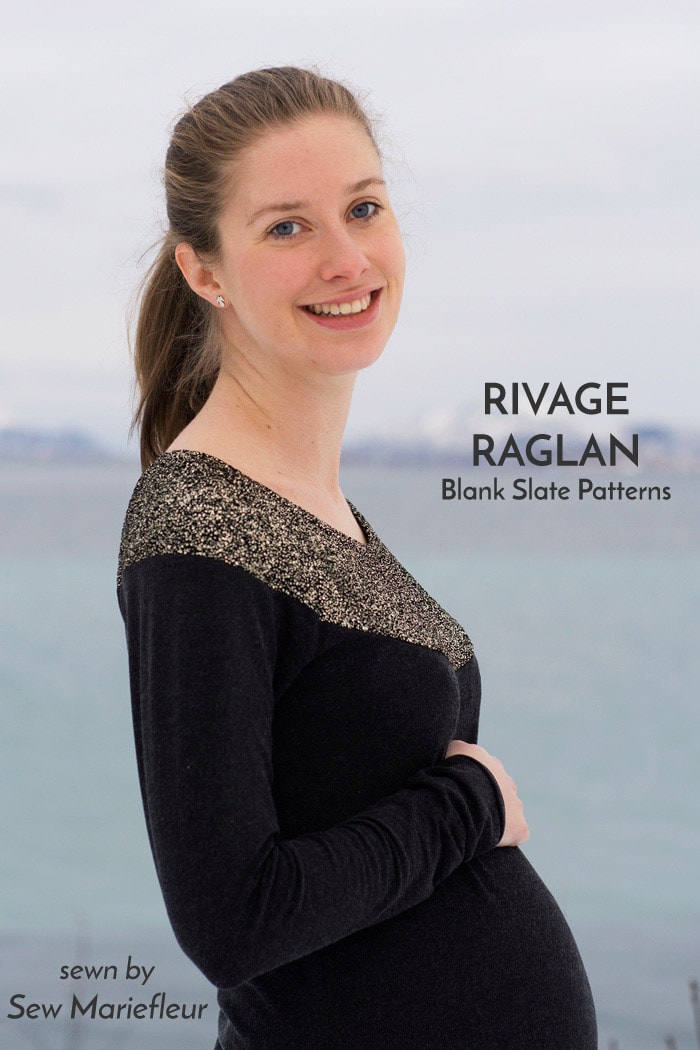
 Hi there, it’s Fleurine from Sew Mariefleur, and today I’m going to show you how to hack the Rivage Raglan (aff link) to lift it from a basic everyday knit tee to a way more fancy garment. That you can still wear every day, obviously. Who doesn’t want some easy-to-wear sparkle? This month’s theme is “on top,” so I thought adding some extra sparkle to a garment might be perfect. At first I meant to sew sequins or lace on top of a garment, but in the end I decided to rather hack the pattern and add the sparkle to the garment itself.
 I have always liked sweaters and tops with a round “pattern” added to the shoulder area. Here in Norway, where I live, we wear a lot of wool sweaters, many of which have round patterns added to the shoulder area – those are usually my favourites! After I began sewing I understood that the key to this is actually using a raglan pattern. Since you don’t have traditional shoulder seams, the raglan shoulder seams make it possible to place a pattern evenly around the whole shoulder area. So going for the Rivage Raglan to achieve this look was a no-brainer. Not only is it a raglan pattern, but it’s not too fitted either, making it easy to adjust for pregnancy.
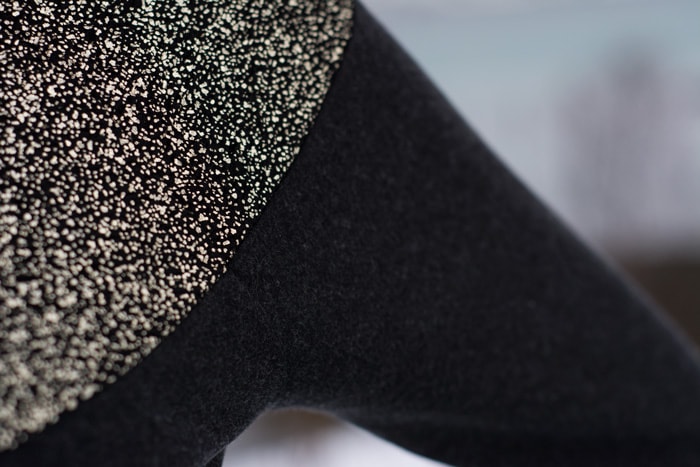
 My main fabric is an anthracite-coloured super soft viscose knit. I have used this knit several times, for example here and here. It has an amazing drape and feels so soft on the skin! My accent fabric is poly knit with mesh, with some glitter on top. It actually has a weight similar to that of my main fabric, which made it easy to combine these two fabrics. If your accent fabric is very stretchy or light-weight compared with your main fabric, you might want to consider sewing the Rivage Raglan only of your main fabric and sewing the accent fabric on top of the other.
 In my case I took the pattern pieces for the front, back and the sleeves and measured about 4″ down from the top of each pattern piece. I made a little mark, moved my ruler a little bit to the side, keeping it at a 90 degree angle from the neckline and made my next mark. I cut the top of the pattern pieces off along my marks, ending up with three smaller curved pattern pieces, all 4″ wide.
Now I cut my accent pattern pieces, using the new and smaller pattern pieces – don’t forget to add some seam allowance along the lower curve! I used the “rest” of the original pattern pieces to cut out my main fabric. You will need to add some seam allowance to the top of these pattern pieces, too.
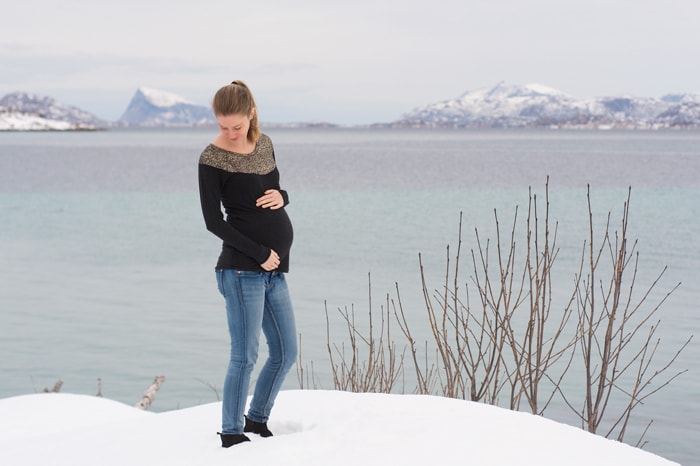
 Since my fabric is very stretchy, I didn’t have to make any major pregnancy changes. I only sized up a little and added a little fabric at the waist area. The Rivage Raglan has a curved front hemline – not so practical with a big belly! I simply drew a straight line for the front instead of following the curved hem line. I sewed the accent pieces to the main pieces, ending up with regular pattern pieces again. I then sewed the Rivage Raglan together as instructed, making sure that the edges of the accent pieces matched as well as possible.
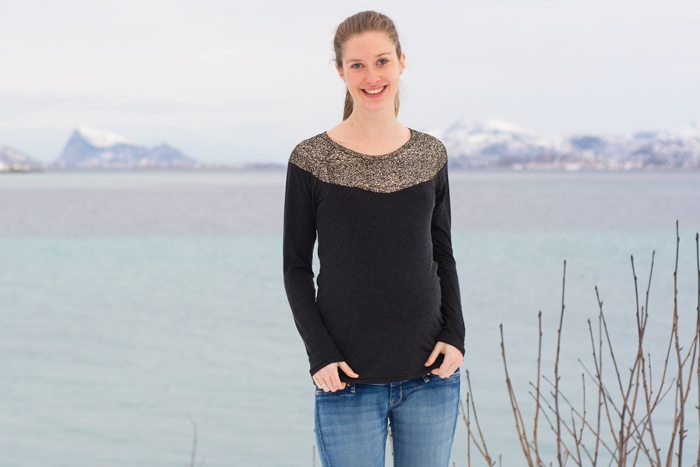
 When trying on the Rivage Raglan, I realized that both the sleeves and the bust were a little too wide. So I simply pinned out the extra fabric and serged the sleeves and side seams one more time, taking out the excess fabric. The result was a raglan that was nicely fitted around my upper bust and at the sleeves, while giving me enough ease to accommodate my growing baby bump. These pictures were taken when I was about 26 weeks pregnant, and now, at 33 weeks, the raglan still fits nicely and is one of my favourite go-to garments. The combination of the super stretchy fabric and the extra length and width makes it a great choice for pregnancy!
 After my pregnancy I might either use it as a slouchy shirt, or I might simply take off some width at the waist area and possibly shorten the top a little. I mean – who wants to sew garments that only fit for a few weeks?
Find Fleurine at her Blog, Instagram, Facebook