Today Veronica is sharing some upcycling tips for the Tee x 3 pattern. Read on to find out how to sew these FAST!
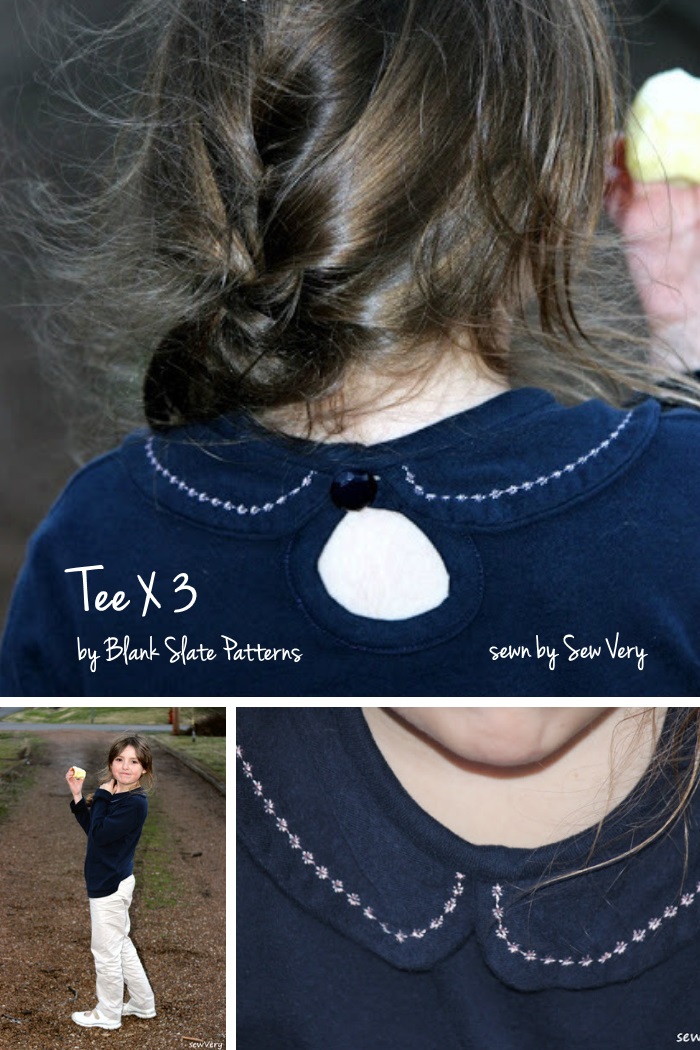
Hi, Melly Sews’ readers! It’s Veronica from sewVery here with you today, and I’m sharing my daughter’s two new Blank Slate Patterns Tee x 3 shirts. This pattern is a great for sewing together staple pieces for your child’s wardrobe. It’s fast. It’s simple, and it comes with 3 shirt styles! If you haven’t tried the Tee x 3 pattern yet, I strongly suggest you do–and soon!
For some time now, I’ve been holding on to a stack of long-sleeved turtleneck tees, mockneck tees, and fing guage sweaters that belonged to either me, my mom, or my husband–all with the intentions of someday recycling these shirts into refashioned tops for Ella. Why buy new, expensive knit fabrics when each of these old, gently worn shirts has all the fabric I need to sew Ella a new Tee x 3?

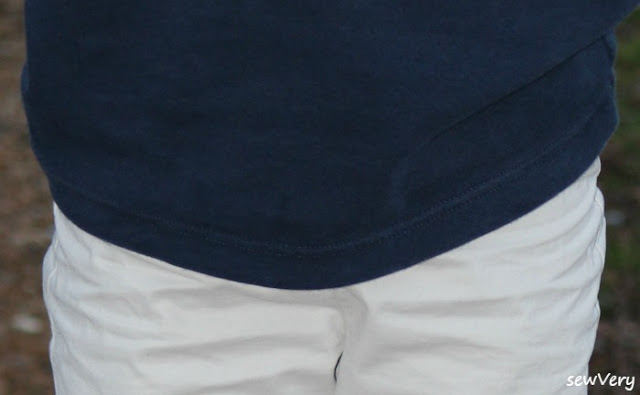
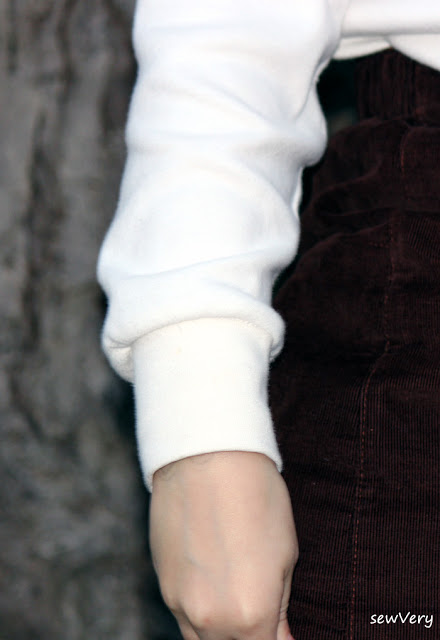
The first Tee x 3 I sewed Ella used only the front, back, and sleeve pieces of the pattern. I saved myself time sewing by reusing elements of the existing adult sized turtleneck shirt I recycled. Here’s how!
Recycle a gently used adult knit shirt and give these tips a try when you sew a Tee x 3 shirt.
Reuse the existing hem!
Reuse the existing neck band!
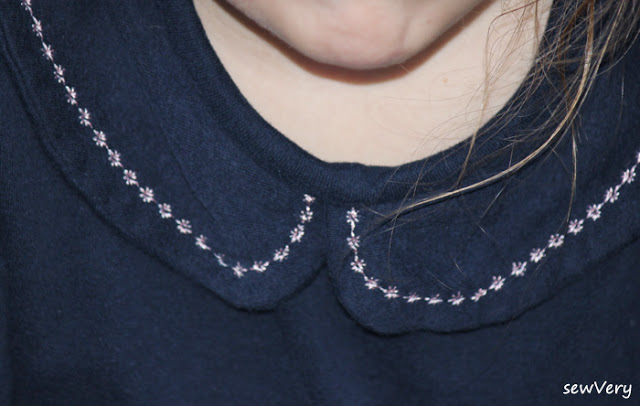
Do these 4 things to add an embroidered detail to your shirt collar:
- Fuse a lightweight interfacing to the wrong side of one piece of the collar to add stability and to prevent the knit from stretching when stitching.
- Use embroidery thread to make the decorative stitch bolder on the knit fabric (use regular thread in the bobbin still).
- Test the decorative stitch on a scrap piece of the shirt fabric and make any stitch adjustments before sewing on the actual collar.
- Sew the decorative stitch approximately 1″ from the raw edge of the interfaced collar pieces only. Then follow the pattern instructions on how to sew together the collar.
After sewing on the collar, I discovered a tiny hole in the fabric on the front of the shirt! I have no idea if the hole was there to begin with or if I accidentally snipped the fabric while sewing. Immediately, I begin to brainstorm how I could save this shirt and all my work from being thrown in the trash. Luckily, I still had a few scraps of fabric left, so I cut out a small pocket a positioned it over the tiny hole. Again, I reused the old shirt hem to make the pocket hem, and after pressing in the raw edges, I stitched the pocket in place. I love the little pocket and think it made the perfect addition!

She couldn’t wait to wear it to school the next day with her Blank Slate Patterns Clean Slate Pants.

I know I’ll be putting this pattern to good use by making Ella several more shirts with the 3 styles included in the pattern–Regular, Hooded, and Peter Pan Collar–as well as refashioning a few more used adult turtleneck shirts! As I mentioned earlier, if you haven’t tried the Tee x 3 pattern yet, you need to soon! You’ll love it as much as Ella and I do!
Have FUN sewing!
