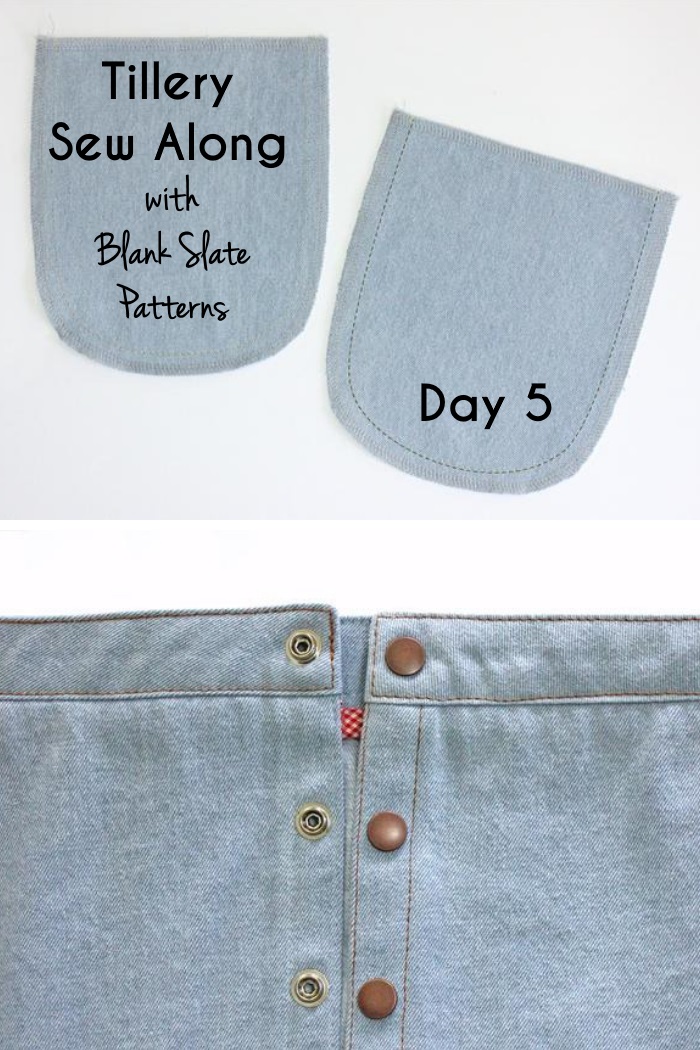
This is it, y’all! The finishing touches and then our skirt is ready to wear out and about.

We’ll start today by constructing the pockets. First, finish the edges of the pocket pieces by serging or using an overlock or zig zag stitch on your sewing machine. Then, sew a basting stitch around the curved edge of the pieces, 1/2″ (12 mm) from the raw edge.

Using the basting stitch as a guide, press the curved edges to the wrong side. Use whatever steam and heat that your fabric can handle to get a nice crease. This will help it stay in place more easily when you topstitch it in a bit.

Press the top edge 1/4″ (6 mm) to the wrong side, then again 1/2″ (12 mm). Topstitch. Be sure to backstitch at the beginning and end of this topstitching so you don’t get loose threads here with wash and wear. (You only need one row of topstitching… I just added another this time because I was feeling it!)

Topstitch the pockets to the skirt. You can go by the pocket placement guide on the pattern, or you can try on the skirt and place them where you like them best. Alternately, you can do this after the next step of attaching the snaps, and then you don’t have to mess with pinning on the skirt.
Time to attach the snaps! Some people worry about this part, but I hope you won’t. Melissa has included thorough instructions in the pattern and has also recorded a video here. To begin, I’d recommend pinning the skirt on yourself with pins in the spots of the snap marking on the pattern. You can skip this for your future versions, but for the first one, it might be helpful to make absolutely sure that the snaps are in the right spot on you. If you see any area gaping, make adjustments.

Then, install the snaps. I highly recommend using Dritz brand heavy duty snaps. (affiliate link) During the course of developing and testing this pattern, we tried a host of other brands and types, and these were by far our favorite for their ease of installation and strong snap. They come in several different colors. I also had good results with the size 24 long-prong snaps from Snap Source, but only for thinner fabrics (the prongs weren’t long enough to go through the placket/waistband layers on the denim).
To set the Dritz snaps, you’ll want to get the strike plate and metal setting tool as shown here, if it doesn’t come in your set already. (We have not have as good success with the pliers.) Lastly, remember that depending on the length you’re making, you may need 2 packages, which is nice anyway so that you have an extra for practicing on a scrap.

Now that your snaps are in, you can try on your skirt and finish topstitching your pockets in place, if you haven’t already.

All done! I hope you enjoy wearing this stylish skirt and that now you start dreaming about the next version you want to make. If you missed any of the earlier days in our sewalong, I’ve linked them here:
See also:
Tillery Sewalong Day 1: Printing, Cutting, and Materials
Tillery Sewalong Day 2: Flat Felled Seams
Tillery Sewalong Day 3: Placket and Hem
Tillery Sewalong Day 4: Waistband and Belt Loops