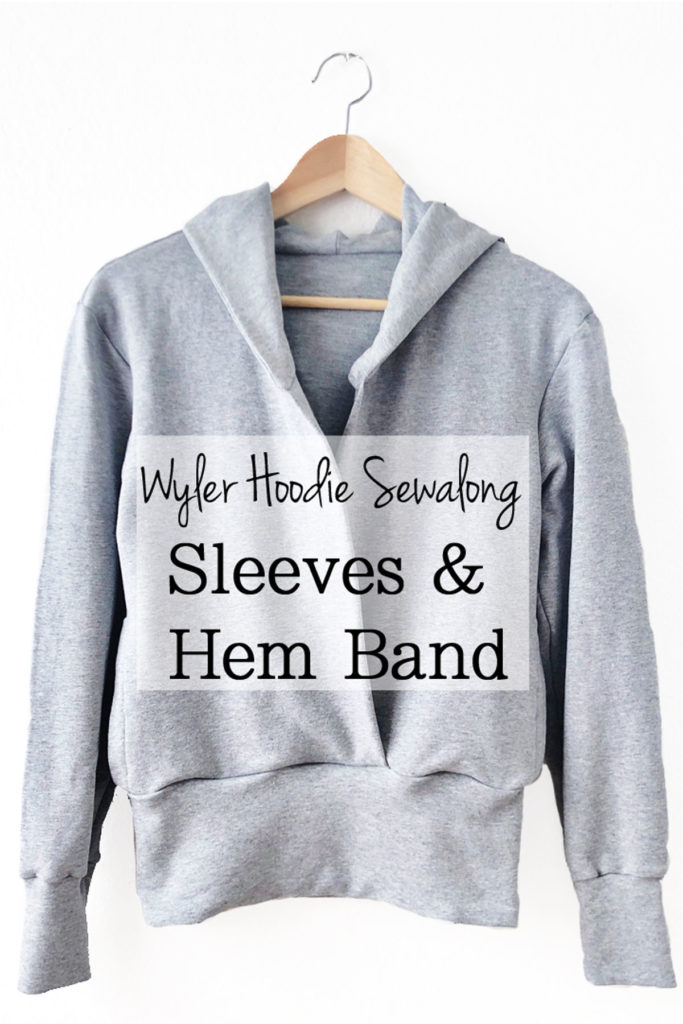
Today we’re finishing our Wyler Hoodie by tackling the sleeves and hem bands. Note that if you’ve chosen to do the sleeveless version of the pattern, you can skip a lot of this tutorial and just sew the arm bands on in the same way the hem band is sewn.
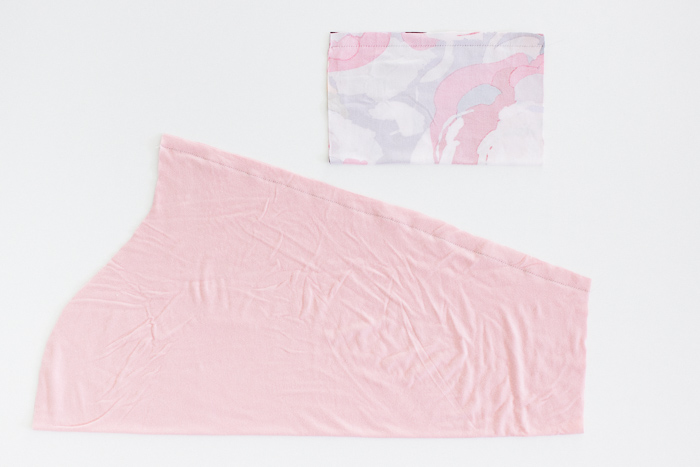
Fold the sleeve right sides together aligning raw edges. Stitch the underarm seam. Also, fold the cuff right sides together and sew along the raw edge opposite the fold. Take a look at your pattern piece to ensure you fold in the correct direction. Repeat for the other sleeve and cuff.
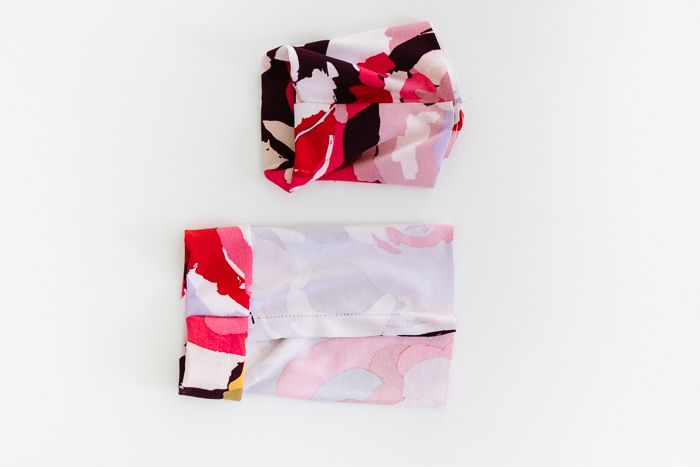
Fold each cuff wrong sides together, matching the raw edges.
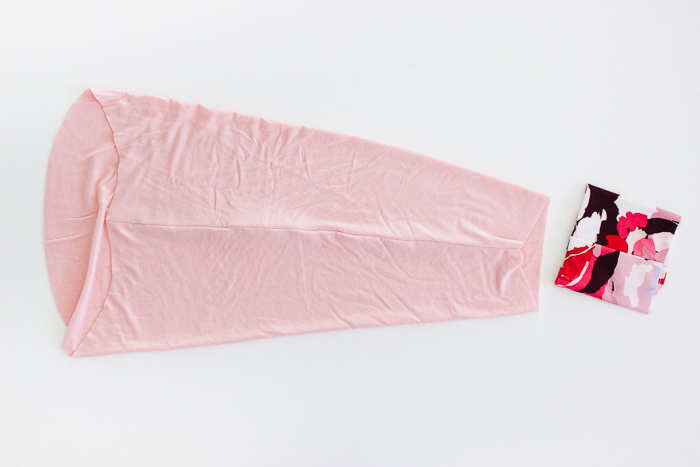
Insert the sleeve into the cuff right sides together matching the seam points and raw edges.
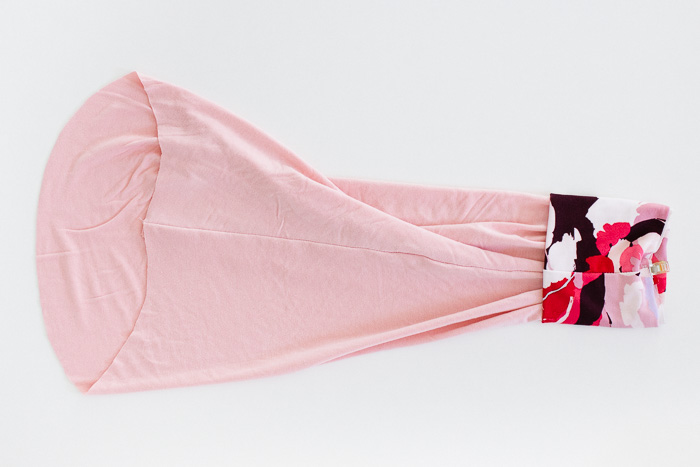
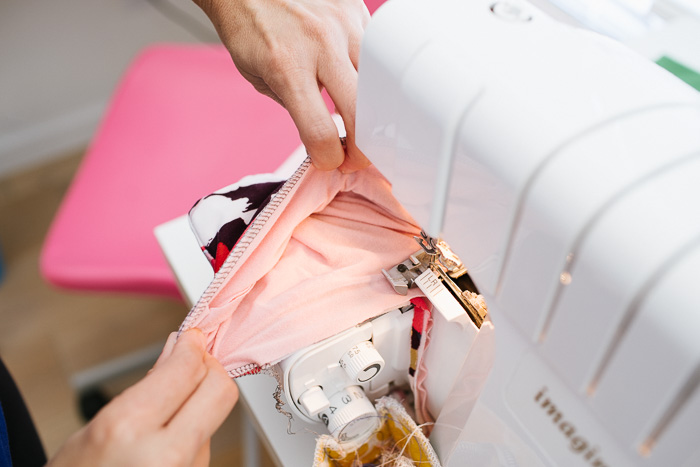
Sew the cuff to the sleeve. When sewing cuffs, we recommend putting the presser foot inside the cuff to sew. This makes it easier to stretch the cuff to match the sleeve as you sew.
Place the sleeve right sides together in the armholes. Match the sleeve seam with the side seam. Stitch around the armhole. Repeat for the other sleeve and cuff.
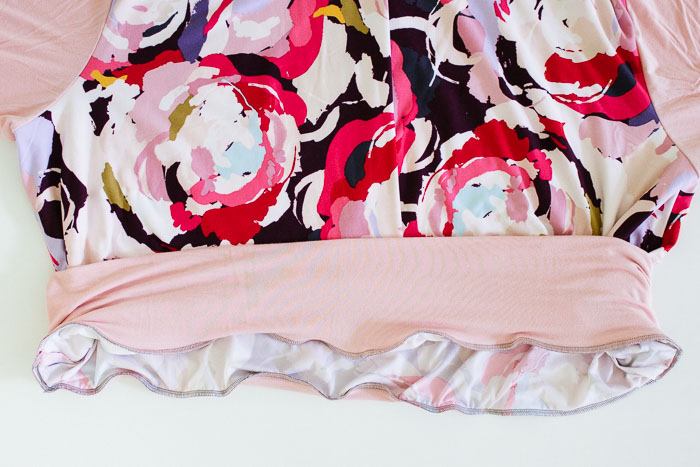
Sew the waistband pieces right sides together at both short ends to form a circle. Fold the circle wrong sides together aligning the raw edges. Place the hem band around the garment body right sides together with the hem band raw edges matching the body raw edges, and matching the seams and center front/center back. Sew the hem band to the body, stretching the hem band to fit.
Be sure to add your photos of your completed Wyler Hoodie to our Facebook Group before Monday, Nov. 9th 2020 to be entered to win a free pattern from the shop. We will announce the winner next week!