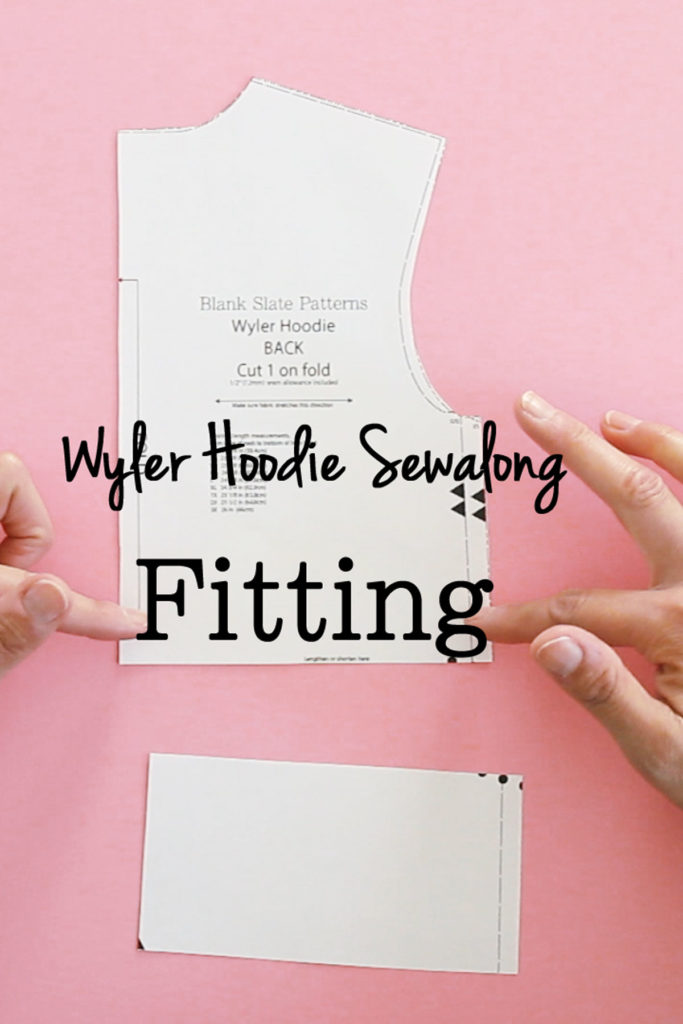
Welcome to Day 2 of the Wyler Hoodie sewalong! Today we’re going to talk about fitting your pattern to your unique shape. As we discussed yesterday, your base size should be from your high bust measurement. From there, the order of fitting is:
- Adjust length if necessary
- Adjust bust if necessary
- Blend sizes for hips if necessary
To adjust the length of the hoodie, watch the video below or on YouTube here. Note that I am 5’3″ with a short torso, so I typically shorten my garments. If you have a long torso or prefer longer length, you’ll spread the pattern out instead of overlapping like I did. Also note that if the length you choose causes the top of the hem band to hit lower than your hip bones, you’ll probably struggle with the hoodie falling open when you sit. An early version of this pattern was longer and shortened for that exact reason – it wouldn’t stay closed at all. The finished hem band is 4 1/2 inches tall, so subtract 4.5 from your finished length and that will show you where the top of the hem band will hit (I show this in the video).
Because of the way the pockets on this hoodie are constructed (which we’ll cover tomorrow) you have to get the length of the hoodie right before you sew pockets. If you are at all in doubt, I’d recommend basting the fronts to the backs at the shoulder and side seams and at basting on the hem band to check the length on yourself. Once you sew those pockets you won’t want to go back.
To adjust the bust, you may need to do a full or small bust adjustment following the instructions in the pattern. After doing that, the last step is to grade out or in to the hip size if necessary, and remember to cut the hem band according to whichever size you’re using at the hips. Have specific fit questions? Come ask them in our Facebook group!
BACK Day 1 of the Sewalong – Printing & Materials
NEXT Day 3 of the Sewalong – Pockets