In today’s post, Sabra shows you how to add zippered welt pockets to the Zinnia Jacket – which makes it so much more awesome! Read on to find out how…
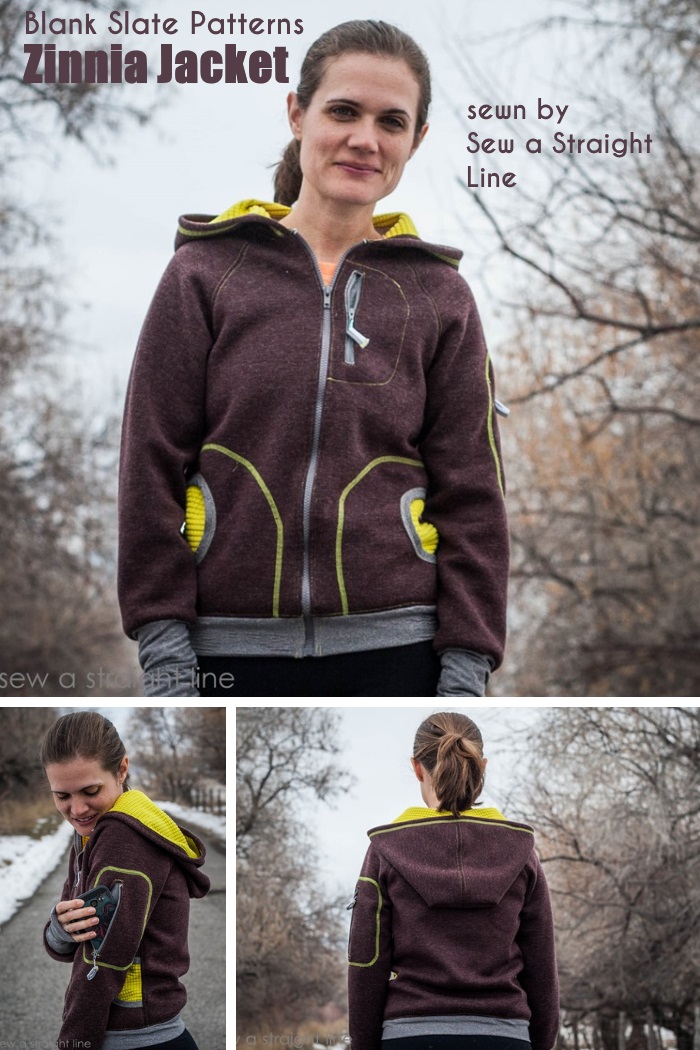
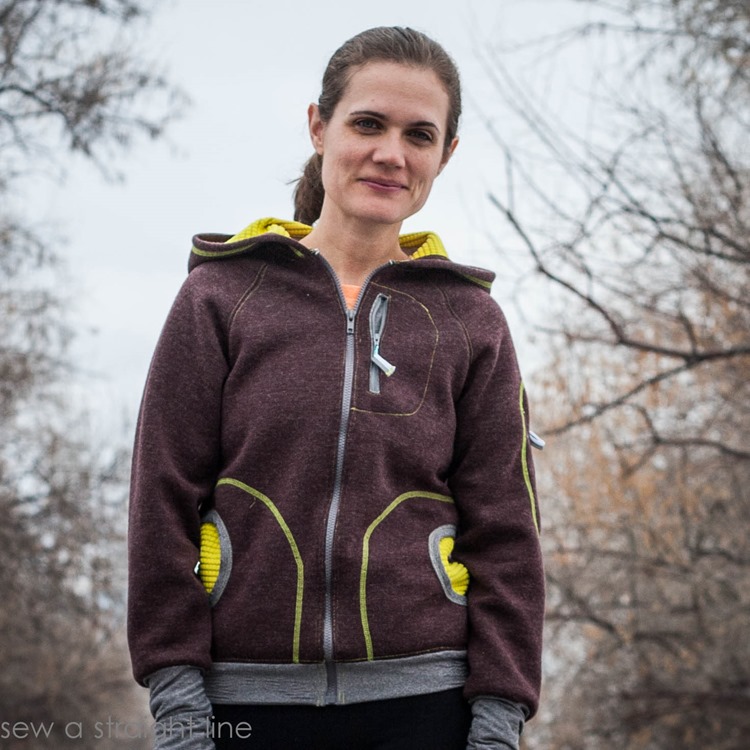
Sabra from Sew a Straight Line here showing off my new running jacket. I used the Zinnia Jacket by Blank Slate Patterns as my base, made a couple of need-specific modifications, and now I have the perfect jacket for my winter runs.
I picked up this amazing double-sided athletic fabric from a local fabric shop almost a year ago. I knew I wanted a running and/or hiking jacket from it, but wasn’t sure where to start. I wanted a pattern that not only would work well for my runs, but also one that let me show off how cool this fabric is. It’s a purple sweatshirt jersey on one side, and a thick waffle-like-fleece-stuff on the inside in a fabulous chartreuse. I needed the fun chartreuse against my body, to take advantage of its heat-holding properties, but also wanted to show it off. The Zinnia Jacket’s pocket shape, and the add-on hood, let me show off my awesome fabric, and the Zinnia pattern’s design gave me a great launching-off point to build exactly the jacket I wanted.
Once thing I’ve really come to appreciate in my winter running is thumbholes. I want my sleeves to stay in place and my hands to be warm, but my fingers free. Thumbholes. I also still want to be able to put on my gloves, in really cold weather. To accommodate all of this, I made my cuffs extra, extra long and out of thin performance lycra. I added the thumbholes by making giant slanted buttonholes on my machine. I thought I’d measured and lined everything up, but I still somehow ended up placing the thumbholes a bit off. Thankfully, the performance lycra is thin enough, and stretchy enough, that they twist into place without any discomfort at all. And I can still slip my running gloves over the top of them. Win!
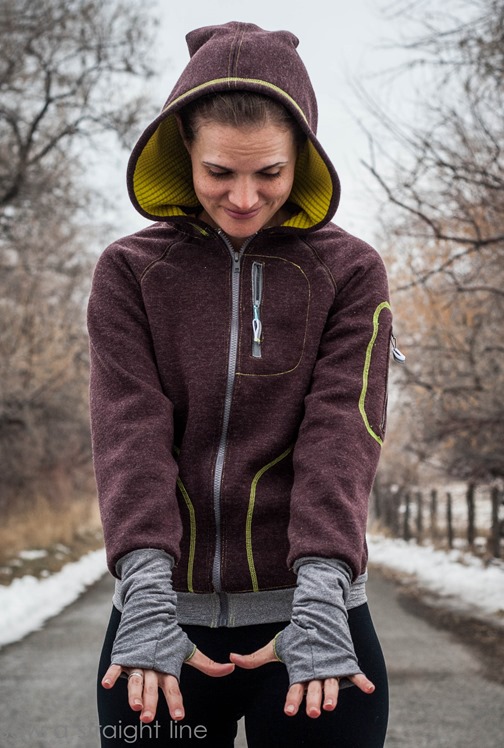
I used the same performance lycra at the hip pocket trim and the waistband. I enforced the waistband with knit interfacing, to give it more structure and stability.
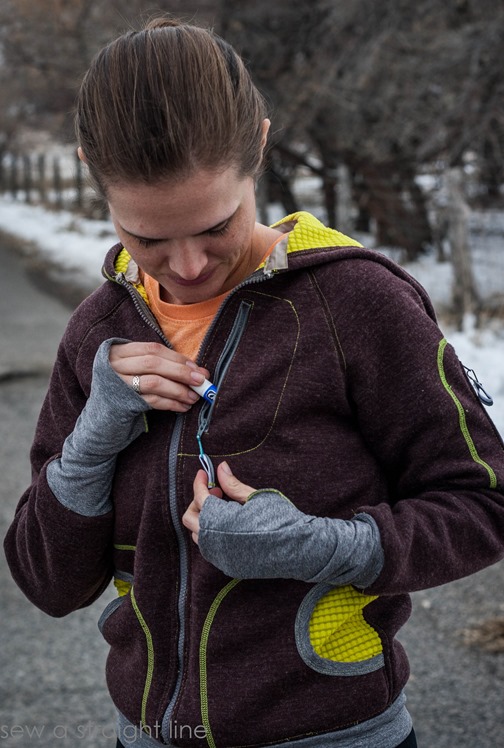
Another of my must-haves for the perfect running jacket is well-placed pockets to hold the few small items I take on my runs. I added a zippered pocket to my chest to hold chapstick, my driver’s license, and my car keys. I also added some reflective zipper pulls, to make the zippers easier to open while I’m moving.
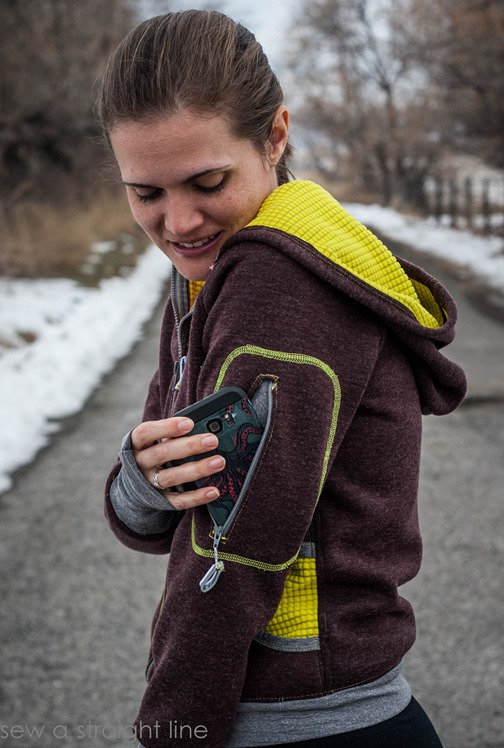
And another pocket on my upper sleeve for my cell phone. I like my phone on my arm, because it doesn’t bounce and move around as much as on my waist or in a front body pocket. Plus, the pocket just looks cool on the sleeve. I do wish I’d placed it about 2 inches higher. It works where it is, but just barely clears my elbow.
Adding zippered pockets is really easy. I don’t have pictures of each step, but I’ll share what I’ve got. First, figure out where you want your pocket opening. Trace out the length of the desired opening, in a capital “I” shape. Make sure to account for seam allowances, and don’t get too close. I added my chest pocket 2.5 inches from the raw edge of my neckline, and 1.5 inches from the center front edge.
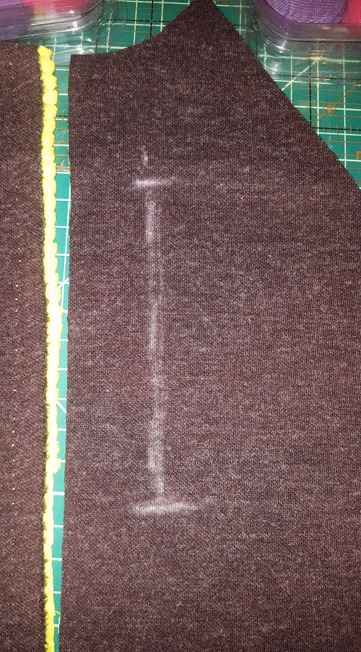
Cut the length of your opening, stopping 1/4inch from each end. At that stopping point, on each end, cut a V-shape to finish out the 1/4inch. Sort of like this:
>——————-<
Fold the long edges under, and the triangular ends under, to the wrong side of the fabric and pin your zipper in place. Sew the zipper all around the edges, catching the fold, the zipper tape, and the folded under edges.
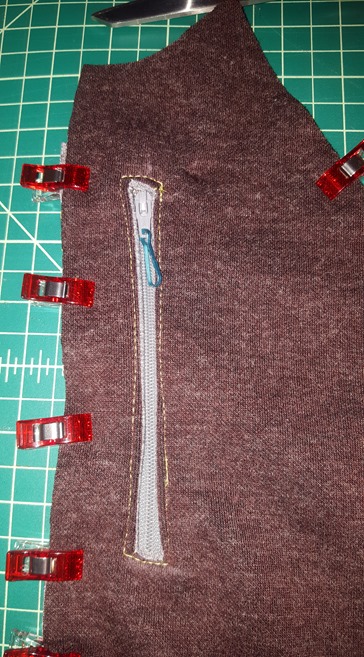
After completing the zipper, place your pocket lining on the inside of the jacket. Topstitch on the right side, enclosing the pocket and securing the lining to the jacket. I like to trace out the shape of the pocket with chalk before topstitching. I used a thick topstitch on the chest pocket, and a decorative coverstitch on my sleeve pocket. Trim excess seam allowance, as needed.
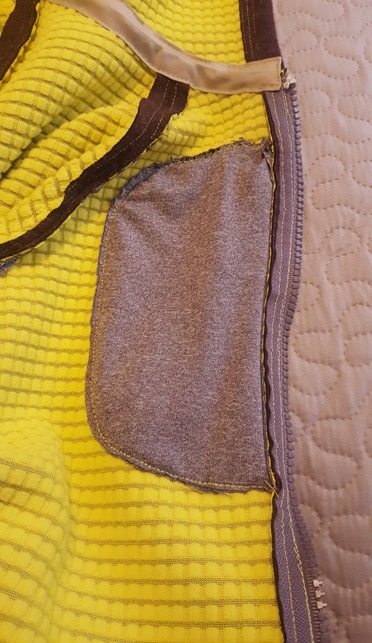
That’s it. Slap a zippered pocket on anywhere! I put both of my zippered pockets on the left side of my jacket, since I’m right-handed and want to be able to access them easily while I’m running.
I used Melissa’s tutorial for adding the hood to the Zinnia Jacket. You can grab the tutorial and free hood pattern HERE.
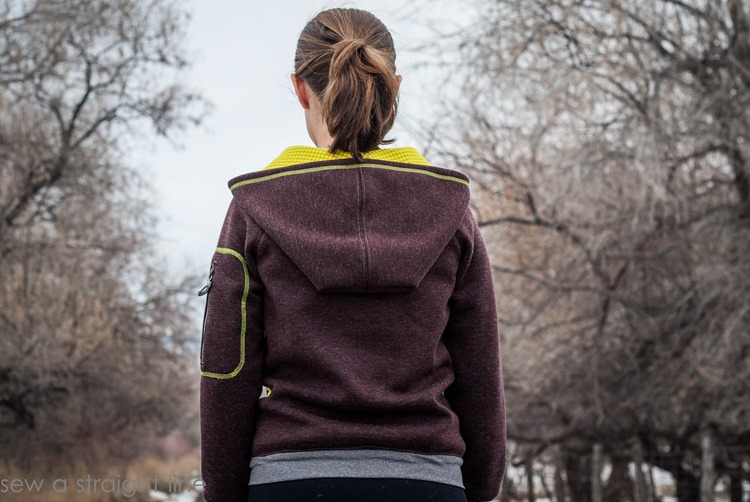
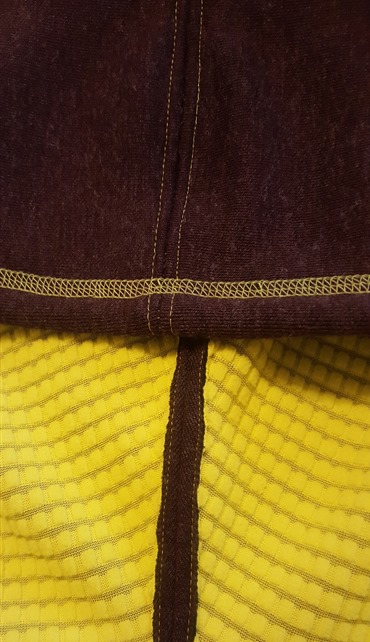
The “wrong” side of my fabric was just too cool to hide. Instead of lining the hood as in the tutorial, I left it unlined. I finished the inside seam with some topstitching close to the edge of the seam allowance. I hemmed the hood with some decorative coverstitching. And I bound the seam at the neckline with some bias tape (as you can see in the picture of the inside of the zippered pocket, above).
And now I’m ready to run in style and comfort!
You can grab the Zinnia Jacket pattern from Blank Slate Patterns HERE
