Today Jess is showing you how she hacked the Zippy Jacket pattern to make it a pullover instead of a zip front. Keep reading to see how to do this yourself. And have a great weekend!
Hey there, Jess from If Only They Would Nap here! Here in Wisconsin, the hot days of summer are nearly numbered, and I’ve already got fall sewing on the brain. So I have a bit of a pattern hack for the Zippy Jacket today, to get you ready for cooler weather!
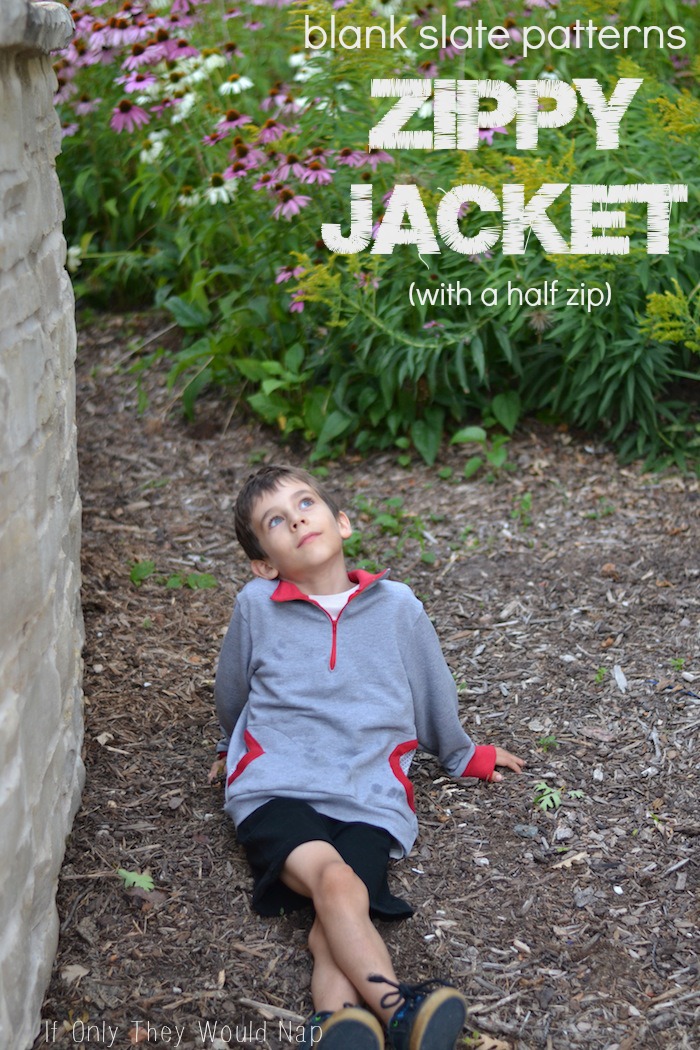 I originally had no plans to modify this pattern, but I really wanted to use a red zipper. I counted four 7inch red zippers non-separating zippers in my stash (why??) but nothing long enough to make the jacket. But perfect for a half zip!

I made the size 7/8 for my tall nearly seven year old. The fit is just perfect, and he says it’s really comfortable.
 The pockets are my favorite feature of this pattern. You don't find a lot of sweatshirts with these rounded pockets, and they give you a great chance to give a little peek of an accent fabric.
If you too have a stash of way-too-short zippers (or a little one who does better with a pullover), turning the Zippy Jacket into a half zip is really easy.
1. Instead of cutting two separate pieces for the front, cut one on the fold.
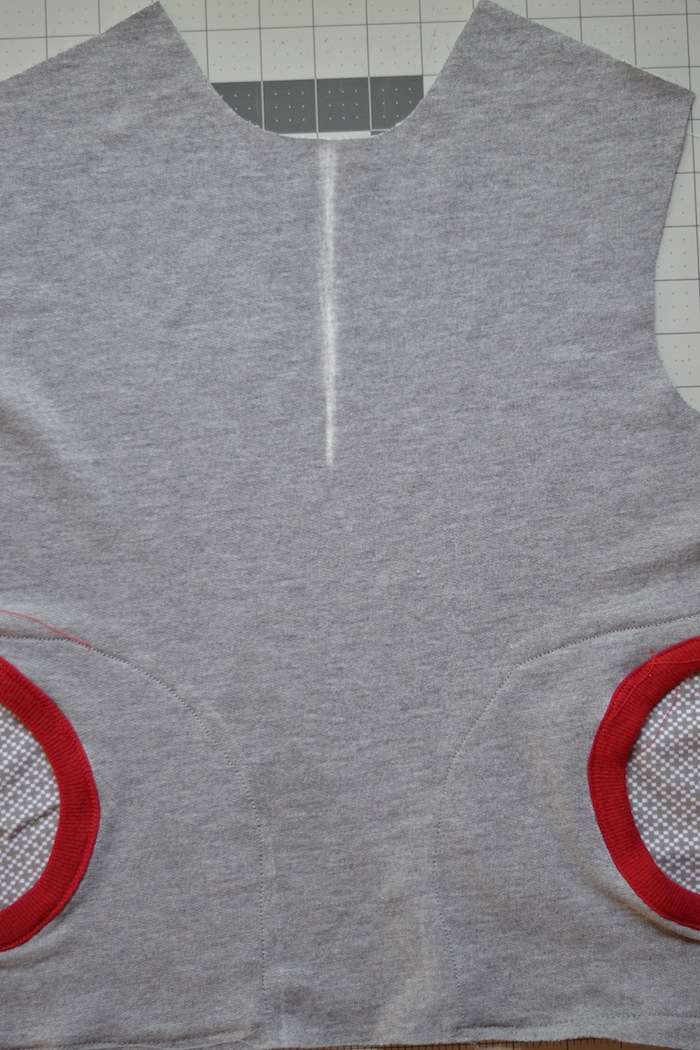
2. After sewing your pockets, begin your zipper install. Draw a line from the neckline about five inches. (You may have to adjust the length if you are making a very small size - this one was size 7/8)
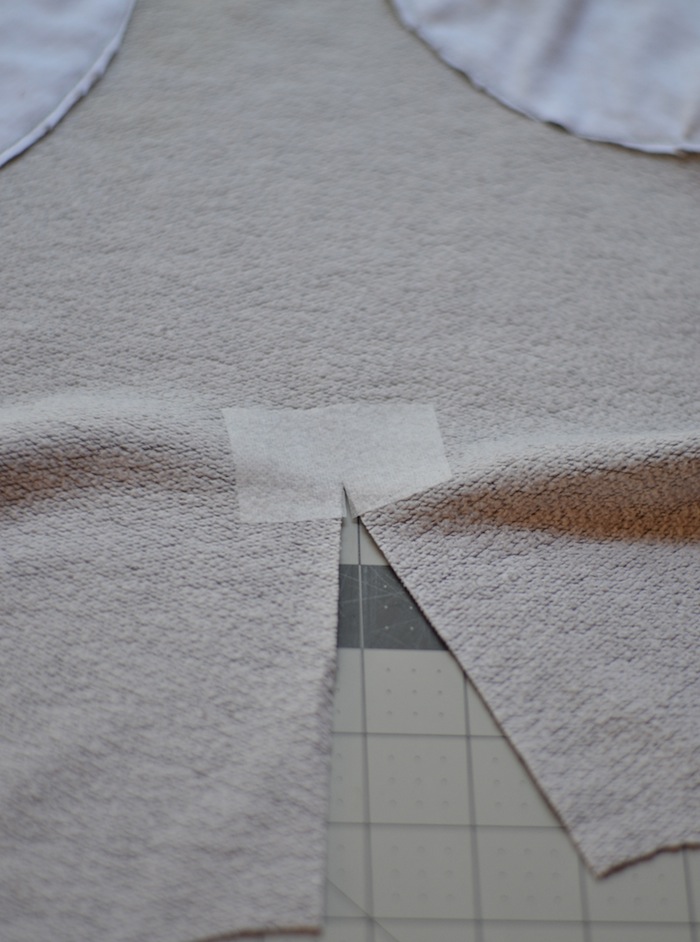
3. Cut down your five inch line. Fuse a small square of interfacing to the back, allowing your interfacing to go over your cut. Then make a slit thorough your interfacing, like in the above photo.
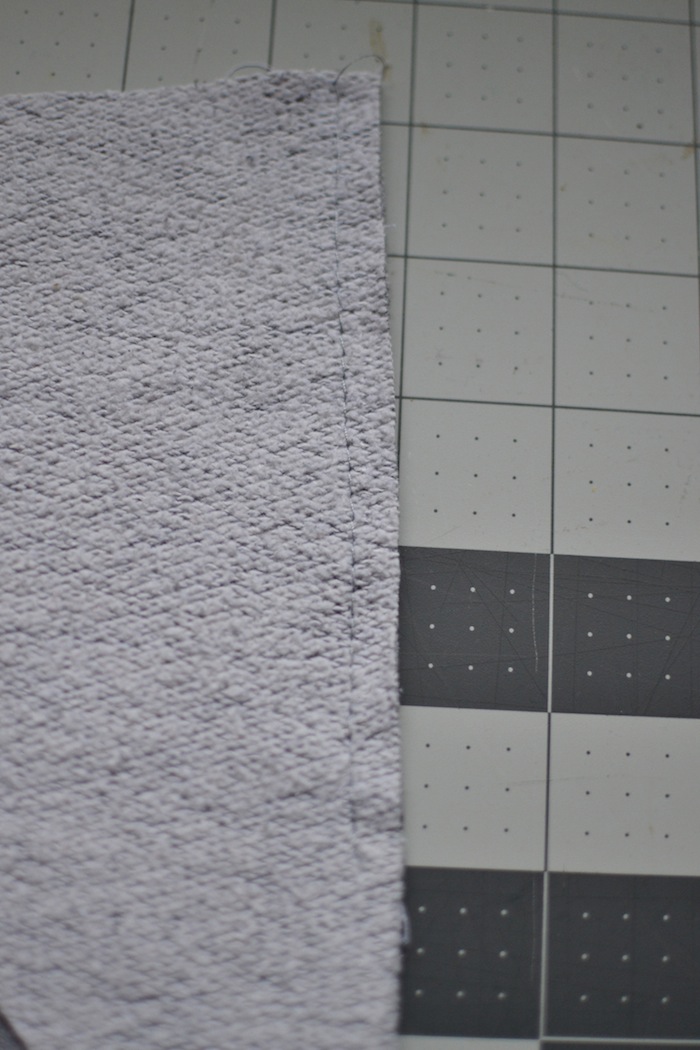
4. Fold the front piece in half, right sides together. Sew a basting stitch from the neckline down to the bottom of your cut. Lay it right side down and press your seam open.
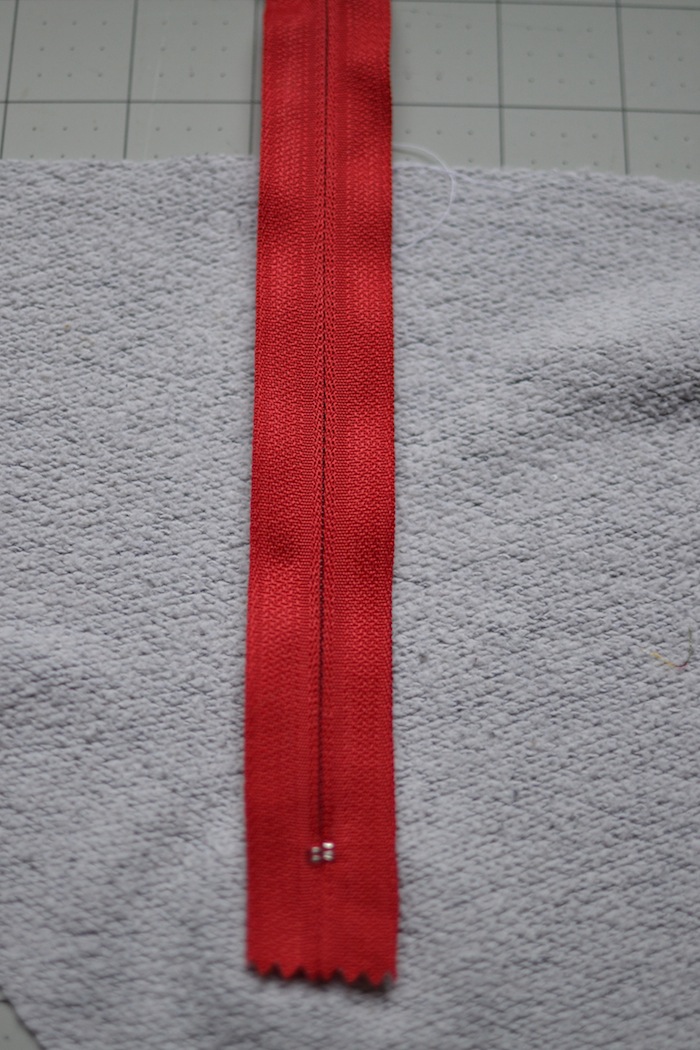
5. Lay your zipper down on the seam. You want the bottom metal part of your zipper to be just below the end of your seam. Your zipper will be sticking out over the neckline, and that's good. You can tape or pin your zipper in place. I like to put a couple of pieces of scotch tape on the back and then pin a couple times on the front.
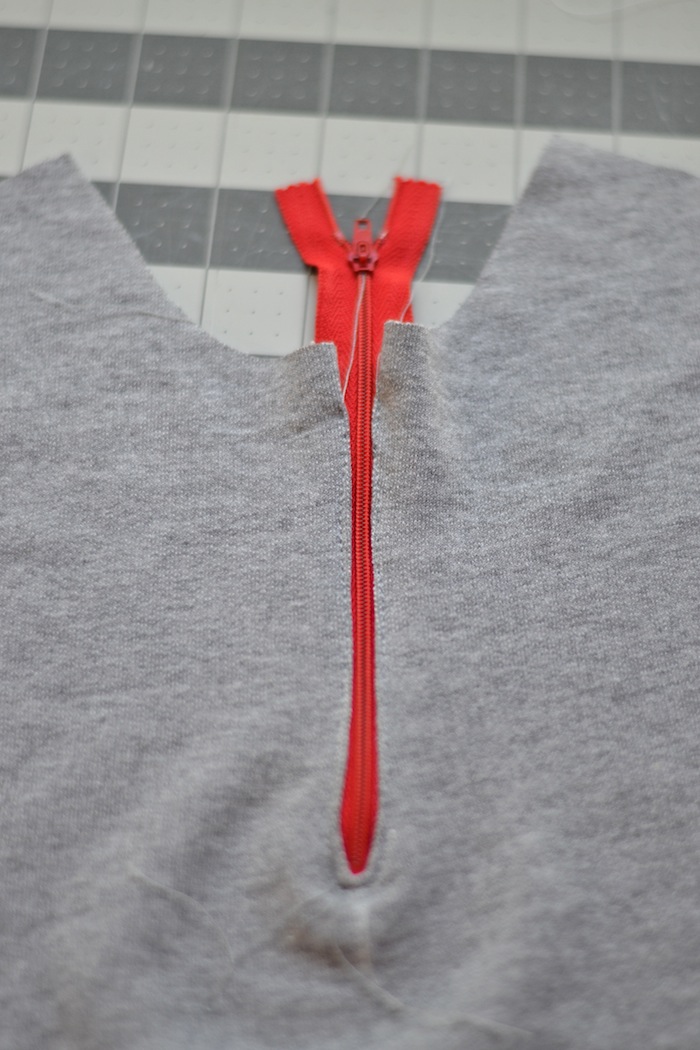
6. Turn the front piece over and stitch around the zipper with your zipper foot. Make sure you leave about an inch at the top (as you can see in the photo) to attach the collar. Then use your seam ripper to open up your basting stitch and remove the stitches.
*Truth be told, I like to remove my basting stitch first, before I stitch around the zipper. I like when the zipper is a little bit more exposed, when I'm using a colored zipper like I did here. If you do that, just make sure you pin around your zipper to keep it securely in place. So my picture above shows more zipper than yours would if you did yours the way I originally described. But I'm a sewing rebel like that..

Then, complete the rest of the pattern according to the instructions, except for the waistband. Attach the waistband as you did the sleeve cuffs (I did not alter the waistband's size), since there is no longer a zipper going to the bottom.
As a total coincidence, I happened to choose the pattern that Melissa has in the Pattern Parcel sale going on right now. It really is one of my absolute favorite things I've sewn lately. I may or may not have have squealed with joy and sent pictures to a sewing friend after I finished it.

The main portion of the jacket was upcycled from an XXL sweatshirt I picked up at a thrift store. With the zipper and pockets in the front, I used the original front of the sweatshirt and made it into the back.
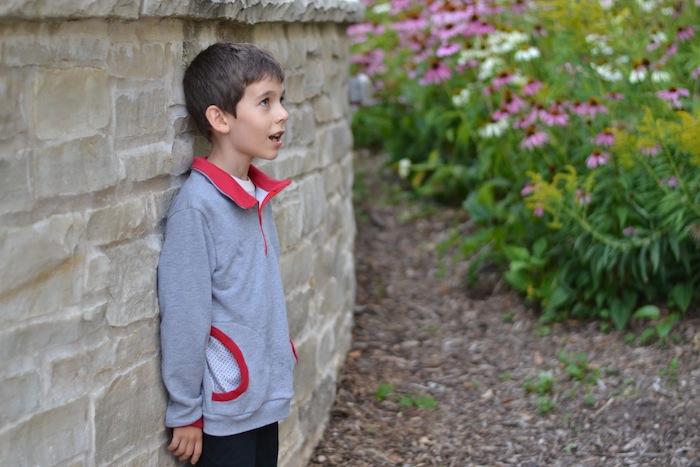
I've already dreamed up three other Zippy Jackets. Good thing I have three other boys who also enjoy a good mama made garment!
Happy sewing, friends!
