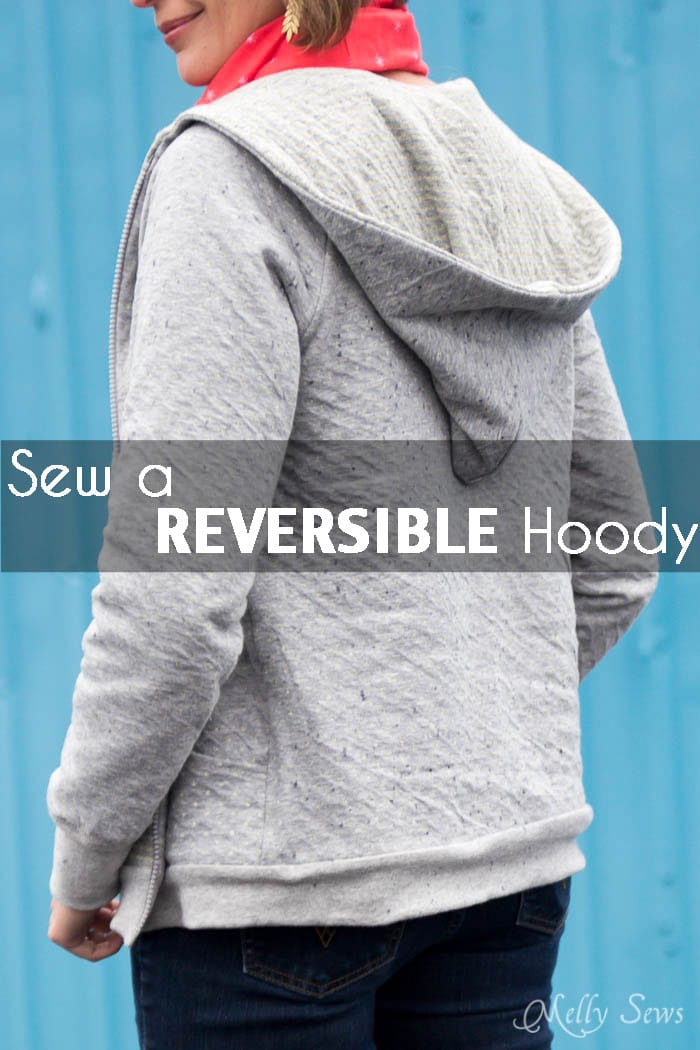
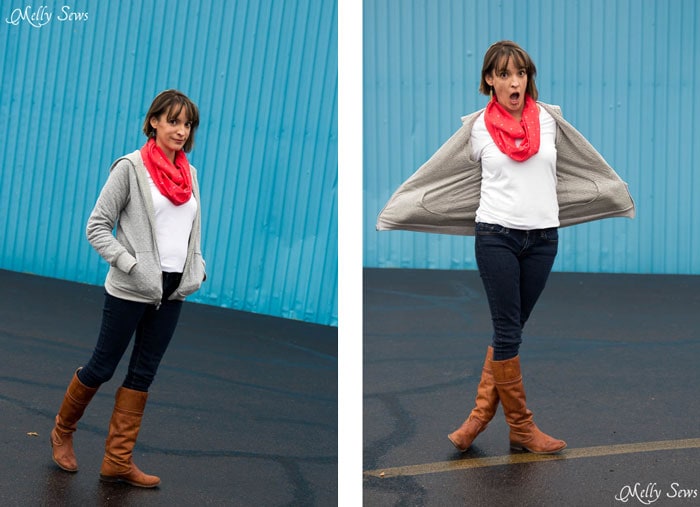
Hey y’all – I’m taking over for today’s Blank Slate Patterns post and showing you how I made my favorite hoody in my closet – a reversible Zinnia Jacket. You could also do this with the Zippy Jacket pattern and make a boys or girls version. That way when they get food on one side, you just flip it around, ha!
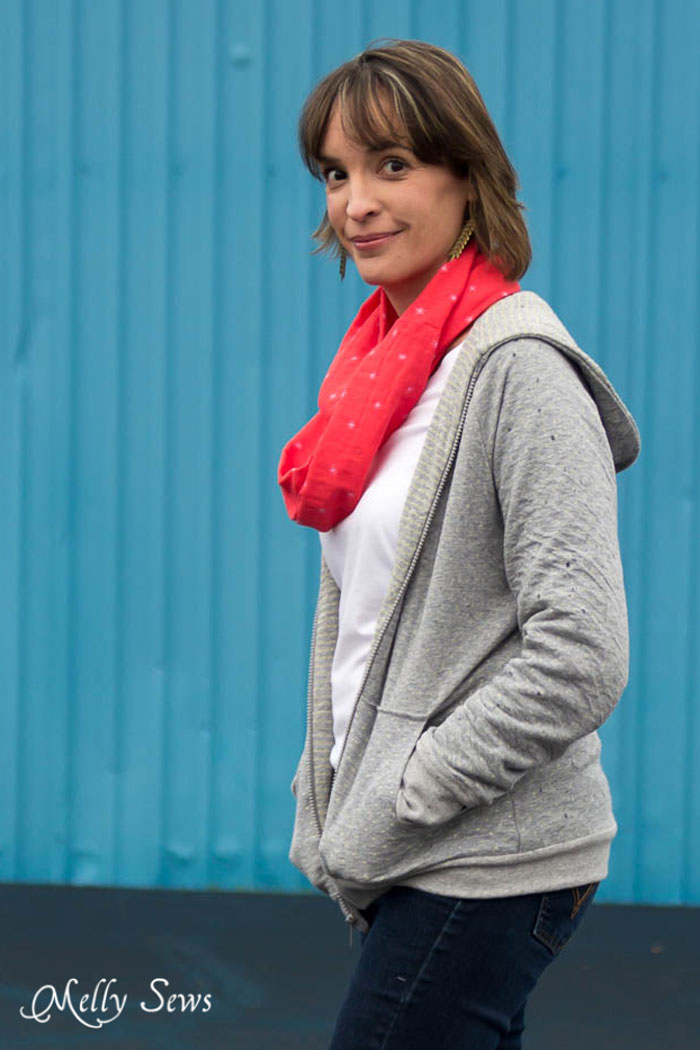
The main reason I wanted to make mine reversible was because I was using reversible fabric – a double knit with stripes on one side and dots on the other – and I couldn’t decide which side I wanted facing out. So this way I didn’t have to make a decision – except which side to put out when I wear it.
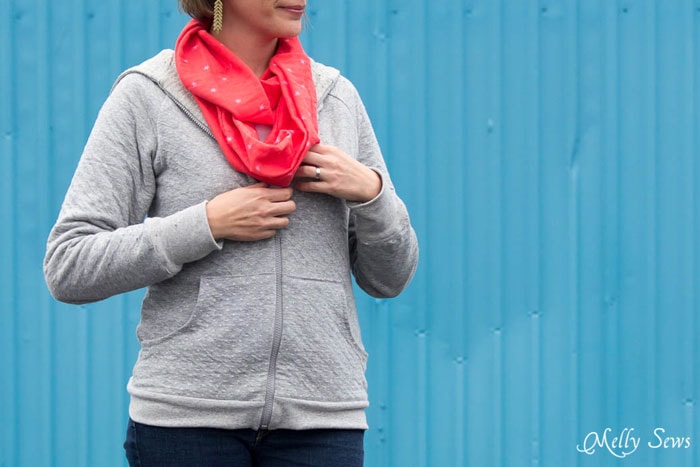
I added the hood to the jacket instead of the collar, as well. You can get the FREE hood add on here.
Oh, and BTW, if you happen to want an infinity scarf like the one I’m wearing in these pictures, the tutorial for that is here.
To make a reversible jacket, cut out two of every pattern piece except the waistband and the cuffs and then sew as outlined below. You’ll also want a reversible zipper, which has a pull on each side.
I also changed the pockets when I decided to make this reversible, because having that many layers in the pocket area just seemed like a bad idea – especially the extra layers added by the rib knit trim on the pockets as designed. So, I made new pockets as shown below and didn’t cut out the pocket holes on the jacket fronts, I just cut straight sides. Fold the curved edge of the pockets to the wrong side and stitch in place, using a stretch stitch.
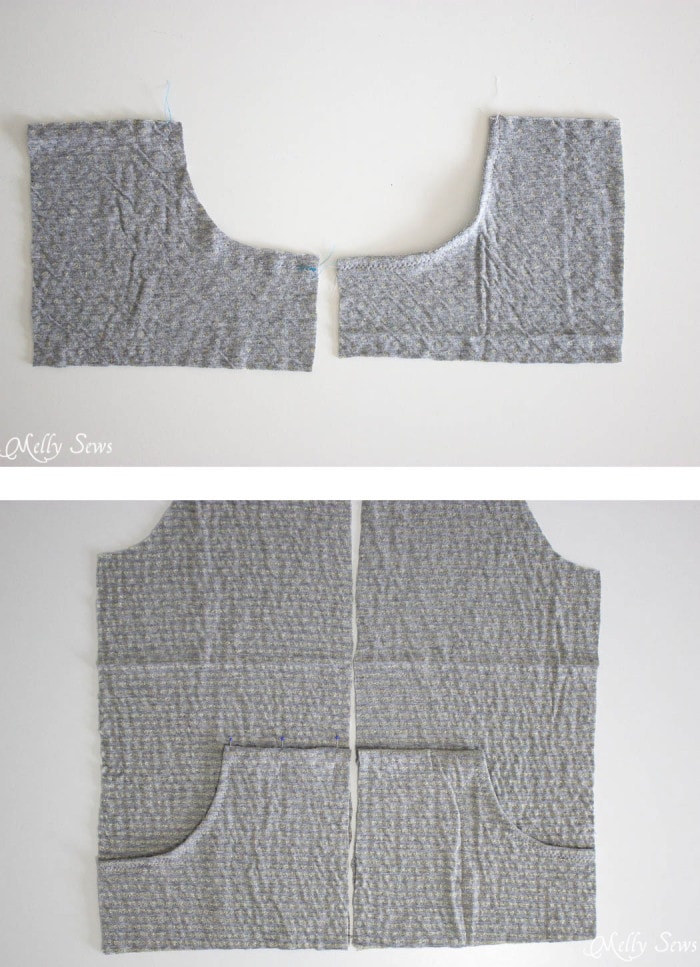
Then place the pockets on the jacket fronts, folding the top edges to the wrong side, then topstitch in place close to the edge. Make sure to backstitch at the outer edges of the pockets (the inner ones will get sewn again with the zipper).
Follow the pattern directions to sew up two jackets – sleeves, side seams, hoods. Then sew the waistband to each jacket at the bottom. It will look like the image below – two jackets connected at the waistband.
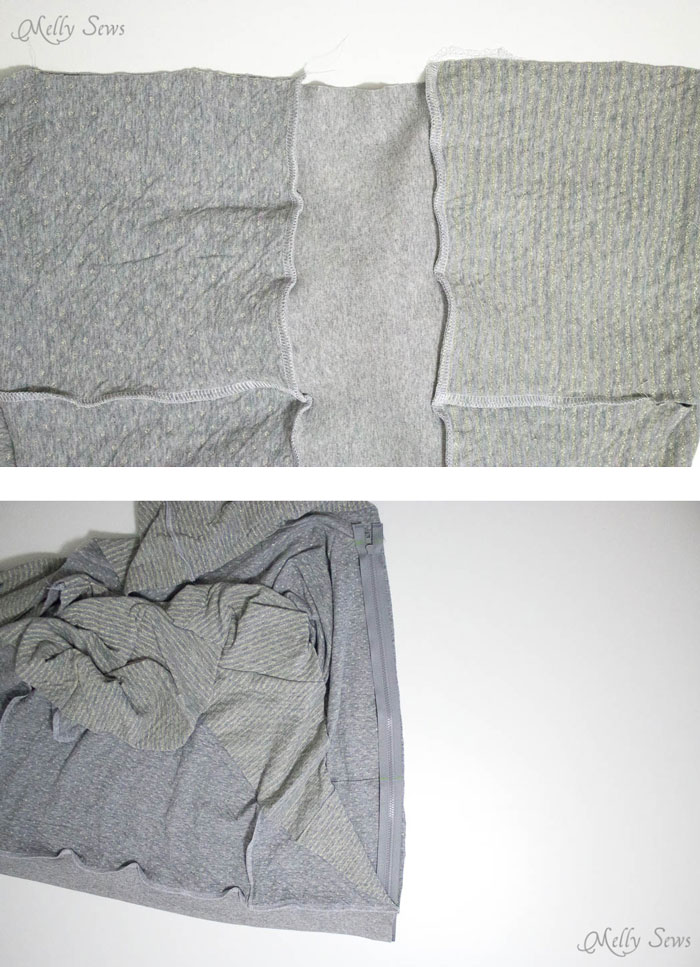
Fold the two jackets right sides together, making sure to match seams and pocket edges, then sandwich the zipper in between them. Mark the zipper at the waistband seam, pocket tops, and hood/neckline seam, then separate the zipper and pin the other side to the other side of the jacket front, matching those same points.
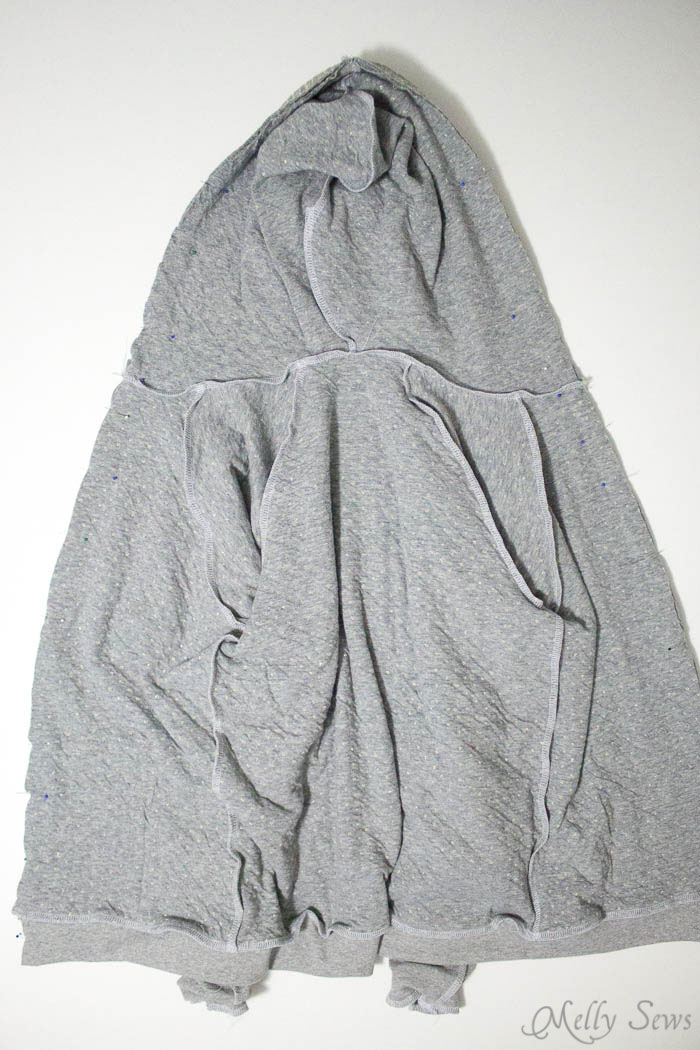
Stitch, using a zipper foot, along the two center fronts and around the hood. Turn the jackets right side out through one of the sleeves, then push the inner sleeves inside the outer sleeves. It doesn’t matter which side of your jacket is out, just that you pick a side for now.
Sew one edge of the sleeve cuffs to only the outer sleeves, following pattern directions. Then turn the jacket so the other side is out. Pull the unattached sleeves so that the raw edge overlaps the cuff seam from the other side, as shown below.
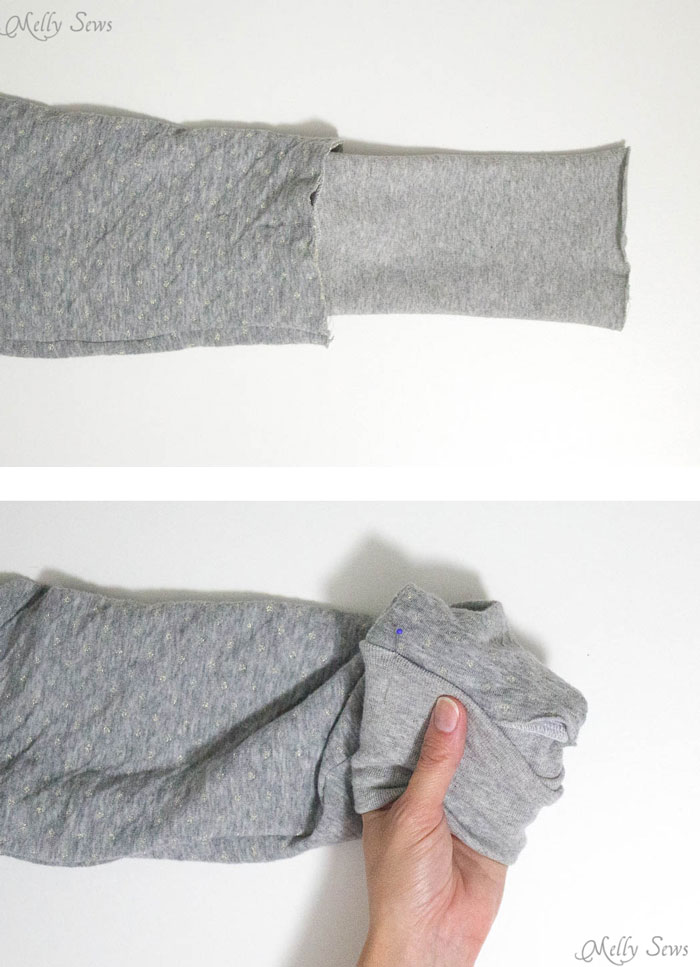
Fold the cuffs, folding the raw edge under, to cover the seam and raw edge of the other sleeve, then topstitch in place to secure the cuffs. Make sure this topstitching lands in the ditch of the seam on the other side for prettiest results. And now your jacket is fully reversible!
Happy sewing!